PowerPoint has options for hiding slides and also hide & reveal text or content within slides.
We have looked previously at hiding things in Word and Excel, and PowerPoint also allows you to hide things, although the approach is a little different.
The most common reason to want to hide text on a PowerPoint slide is because you want to reveal parts of the slide in stages. To do this, we use the Animations feature. This allows us to hide information on the slide, and reveal it when we click the slide.
Hide and Reveal Whole Objects Using Entrance Animations
The easiest way to hide and reveal text is using entrance animations.
Update: Thanks to Office Watch reader, Tiffany D for this correction to the original article.
“You can add animation to one text box to bring in bullets one at a time. In fact, it’s the default behavior when you animate a text box. You also can customize the animation effects to bring in the text by word or even by letter, all within the same text box.”
Let’s say I have a bullet list of several points, and during my talk, I want to reveal each point one at a time. So I set the text up with each bullet point in a separate text box.
We now click on the first bullet point that we want to appear, and go to the Animations tab. We then find the Entrance animations. By default, the entrance animations are normally already selected in the Animations group, but if not, you can click the arrow on the side of the group, or the arrow beneath the Add Animation button in the Advanced Animation group.
Now we choose how we want the text to appear. “Appear” is the simplest, but you can also choose to have the text fly in, float in, fade, or various other effects. We also need to go to the timing section to specify when we want the object to appear.
For the first item to appear, we can choose:
- On Click to make the item only appear when you click the slide.
- With Previous or After Previous to make the item appear automatically after a specified number of seconds. Set the number of seconds in the Delay field.
If you are using some of the fancier entrance effects such as the fade in or fly in options, you can also control the speed of the effect by setting the Duration for the number of seconds you want the animation to take.
Text appears when you click the slide
Text appears two seconds after the slide opens
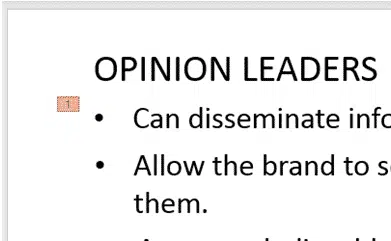
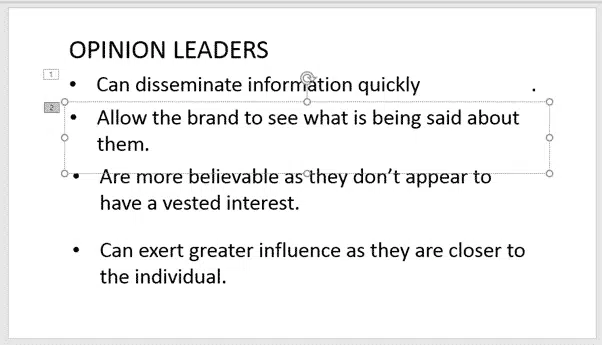
A number 1 will now be shown next to the first item to appear.
Now we click on the text box that we want to appear next and select the effect again. Again we need to choose the timing:
- On Click if we want to click to make each item appear.
- With Previous if we want them to appear at the same time.
- After Previous if we want this item to appear a certain time after the previous one, without having to click again. In this case we will have to set the delay time as well, to control how long after the previous item we want this one to automatically appear.
In our example, we will assume we want to click for each item to appear, so we select On Click. A number 2 will now appear next to the second bullet point.
Note that if we had chosen With Previous or After Previous, this item would also have a number 1 next to it – the numbers represent the number of times you will click on the slide.
Then we repeat the same process for all the items we want to reveal, until they all have a number next to them.
To preview what we’ve done, just go to Slideshow | From Current Slide and click four times to make the points appear one by one.
Hide and Reveal Sections of Text Using Font Color
If you don’t want to have to put the text you’re hiding into separate text boxes, there is another way that allows you hide just some of the text in an object. We can do this using the font color animation. Note that this method can only work if you have a plain color background on your slide, as you need to make the text the same color as your background.
You cannot use this method if you have a gradient, pattern or image background.
PowerPoint does NOT have the Hidden font attribute available in Word, more’s the pity.
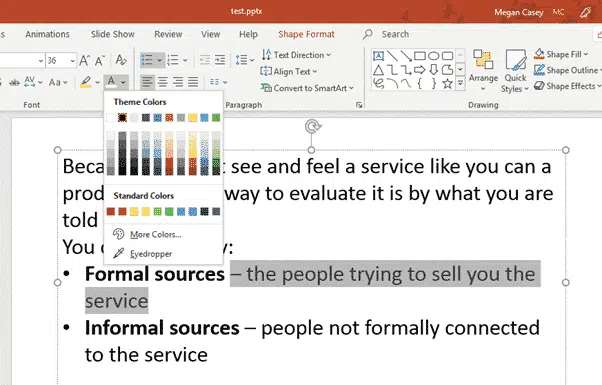
To hide a section of text, select the text you want to hide, and change it to the same color as the background, making it invisible.
Now we again go to the Animations tab, and this time click on Add Animation and select Font Color from the Emphasis group.
Then click on Effect Options and change the font color back to the color you want it to appear.
Repeat the process for any more sections of text that you want to hide and reveal. Again, you can choose whether the next text reveal should happen when you click again, or a specified number of seconds after the first one.
Again, to preview our slide, go to Slideshow | From Current Slide and click to show the hidden text.
Removing an Animation
If you have used either of the above methods to hide and reveal text, and want to change what you’ve done, you can easily remove the animation and start again. Just select the section of text that you want to remove the animation from, or type Control+A to select the whole slide.
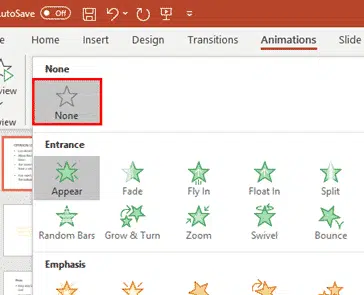
Then return to the Animation tab and select None.
If you can’t see the None icon, click the arrow click the arrow at the bottom right of the Animation panel and select it from the dropdown.


