The Format Cells dialog can be accessed from Home | Alignment | Orientation, or by right-clicking on selected cells and selecting Format Cells.
See Excel’s text and number alignment choices
Text formatting in Excel with wrapping, line breaks and merging
This dialog gives you more detailed options to choose from than are available in the Orientation menu.

Text Alignment
In addition to the horizontal and vertical alignments described above, the Format Cells dialog has a few additional options.
Horizontal | Fill
Horizontal | Fill will duplicate the text as many times as required to fill up the cell.

Horizontal | Justify
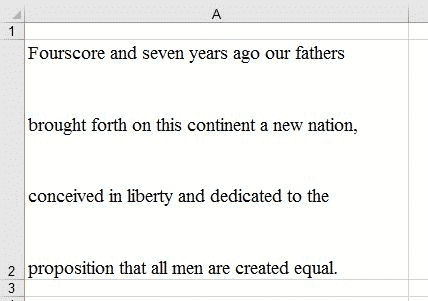
Horizontal | Justify spaces the text out so that it is distributed evenly across the cell, except for the last line.

Horizontal | Center Across Selection
Horizontal | Center Across Selection will center the text across a range of selected cells.

Horizontal | Distributed
Horizontal |Distributed, like Justified, also spaces the text out so that it is distributed evenly across the cell, but in this case the last line is also spaced out across the cell, even if it is much shorter. This may lead to very uneven spacing.

Vertical Alignment
The Vertical dropdown has the Top, Center, and Bottom options as described above, as well as Justified and Distributed, both of which space the lines of text out evenly up and down the cell.
Orientation
While the Orientation button described above allows you angle text diagonally across the cell, the Orientation section of the Format Cells dialog gives you more fine-grained control, so that you can angle the text in whatever direction you want (within 90 degrees clockwise or counter-clockwise – you cannot turn text upside down!)
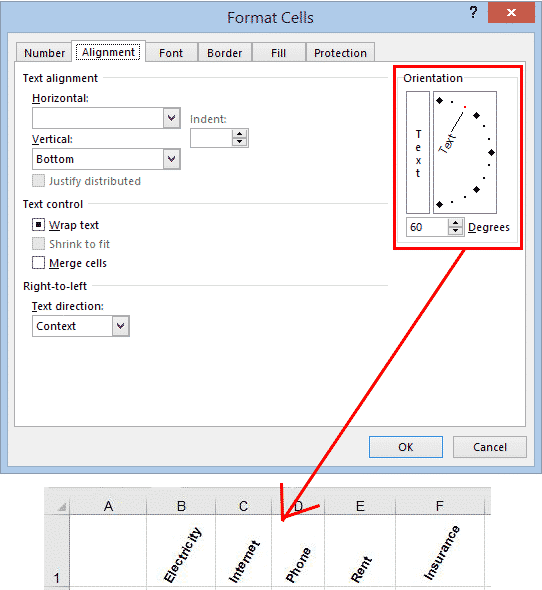
Set your own text angle
To set the angle, you can either drag the needle on the dial to the position you want, or enter the number of degrees in the box below the dial.
Text Control
Under this section we have options to make text fit into a cell when it is currently overflowing the boundaries. There are two ways of doing this.
Wrapping text has been dealt with in our previous article on text formatting, but here we have another option –
Merge two or more cells together, has also been covered earlier.
Shrink to Fit
Shrink the text size is really handy. Instead of tweaking the font size, just click ‘Shrink to Fit’ and let Excel handle it.

Shrink to Fit cannot be used in conjunction with Wrap Text – it’s one or the other. The idea is to shrink the text enough that it fits in the cell as one line.
This choice is advisable only for text that is only slightly too large for the cell. If you try to use this option on longer text, it will become too small to read!
I have applied Shrink to Fit to the entire header row, and each heading has been slightly adjusted in size so that it fits in the column.

Shrink to Fit will, naturally, change the font size for each cell which makes for an awful column headings. Use it during development, then switch to a consistent font size later.