We continue our look at the options for the ‘Ken Burns Effect’ in PowerPoint by combining the pan and zoom animation features into a complete effect.
It adds interest and movement to a still image with two separate animation effects available, in part, in PowerPoint.

Ken Burns Effect in PowerPoint
The zoom in or zoom in/out effect is in PowerPoint under the name Grow/Shrink.
Pan across a still image in PowerPoint – Ken Burns effect part 2
Give a still image some interest and movement by adding a simple ‘pan’ animation across the photo.
PowerPoint Background Animation or Ken Burns Effect in Mac only!
PowerPoint 365 for Mac has a background animation or ‘Ken Burns effect’ feature that’s not available in other PowerPoint.
Grow / Shrink
PowerPoint’s animation options for zooming in or out are surprisingly limited, especially considering the PowerPoint for Mac’s Background Animation feature.
The only ‘zoom’ option is Grow/Shrink which is quite restrictive.
- Can only focus to the center of an image or slide.
- Cannot zoom out. Only zoom in or in & out.
- There is ‘sort-of’ Zoom Out but it’s quite limited.
It’s hard to understand why Microsoft hasn’t, at the very least, offered separate ‘Grow’ and ‘Shrink’ options (to use their naming).
Working within the limitations of what’s available in PowerPoint, it’s possible to add motion to a still image “a la Ken Burns”.
Center an image
To work with PowerPoint’s limitation, crop the image/slide so the main point of interest is centered.
Use View | Show | Guides to add handy cross-hairs or guidelines.
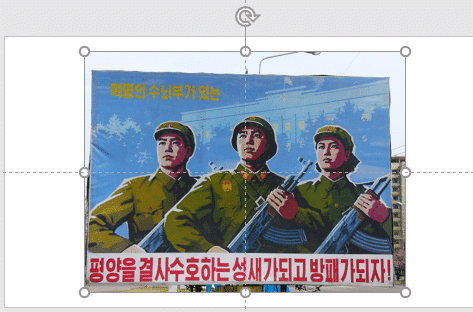
A bit of cropping and sizing puts the middle face right in the center of the image – that’s where Grow/Shrink will aim for.

Add Zoom or Grow animation
Now adjust the amount or depth of zoom. Go to Grow/Shrink, Effect Options | Effect | Size.

Any setting over 100% is a zoom in. Change the Size percentage and test until the image zooms in to the position you want.
Tip: leave the timing as the default, a few short seconds, while testing. Later in the process, change the timing to something slower.
That takes care of the zoom in element, now let’s add some ‘pan’ effect.
Add motion path
Pan across an image in PowerPoint is called a ‘Motion Path’. There’s a wide selection of motion paths, we’ll stick with the simple straight line.
The details of pan / motion are explained in Pan across a still image in PowerPoint – Ken Burns effect part 2
The animation is harder to visualize because the preview is in the original or pre-zoom state.
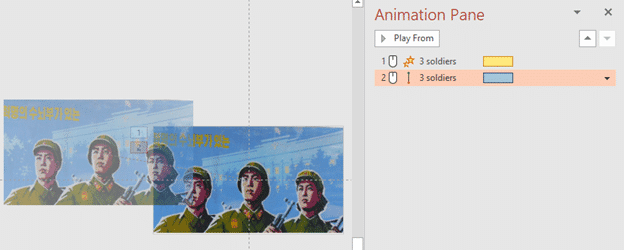
From the above image, it looks like the motion path will move the image almost completely off the slide area. However, that preview doesn’t take into account the zoom in (step 1 in the animation pane).
Slow down
Once you’re happy with the zoom in and motion path, extend the timings of both effects to something slower. In each Animation Pane item, go to Timing | Duration. Maybe start with 20 seconds (Extremely Slow) and adjust from there.

Optional extra – Custom Motion Path
If the simple Line motion path isn’t enough, try one of the many other choices.
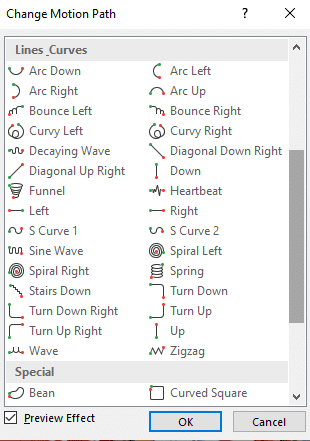
Generally speaking, the simple motion paths are better such as:
- Left
- Right
- Up
- Down
- Diagonal Up Right
- Diagonal Down Right
Ken Burns Effect in PowerPoint
Pan across a still image in PowerPoint – Ken Burns effect part 2
PowerPoint Background Animation or Ken Burns Effect in Mac only!