PowerPoint has an option to ‘zoom out’ on a still image from a close-up view to a wider look at the same picture.
It’s not a great option and Microsoft could make it a lot easier. Here’s how to do a ‘Zoom out’ on an image

This is an endnote on our series about adding movement to a still image aka the ‘Ken Burns Effect’ in PowerPoint ….
Ken Burns Effect in PowerPoint
Pan across a still image in PowerPoint – Ken Burns effect part 2
PowerPoint Ken Burns Effect complete – part 3
PowerPoint Background Animation or Ken Burns Effect in Mac only!
Image needs to be larger than the slide
Start by inserting the picture onto the slide and resize the image so it’s much larger than the slide area.
Position the image so that the starting view of the image is in the slide area (the white rectangle).
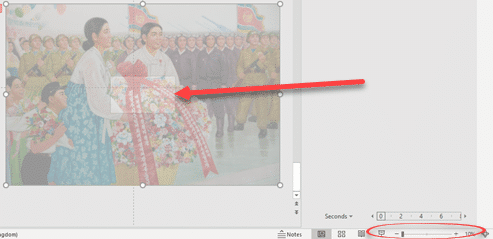
Change the preview zoom (bottom right) so the slide and space around it is visible.
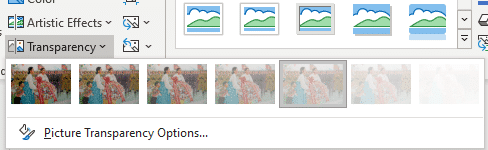
Temporarily change the Picture Format | Transparency to something around 65% so you can see the image and the slide area rectangle.
Focus of image should be centered
The image doesn’t have to be centered on the slide area however there has to be enough image around the starting view for the fully zoom out view to show only the picture (not any of the blank slide area).
That usually means starting with a centered image. It’s certainly easier that way.
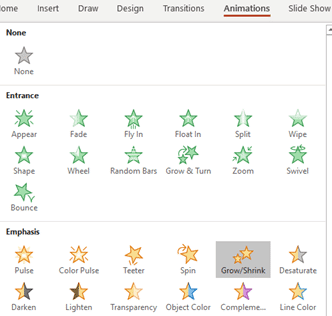
Grow / Shrink
The animation effect is Grow/Shrink
Then go to Animations | Effect Options | Settings (the little arrow below the menu) | Size set to less than 100%
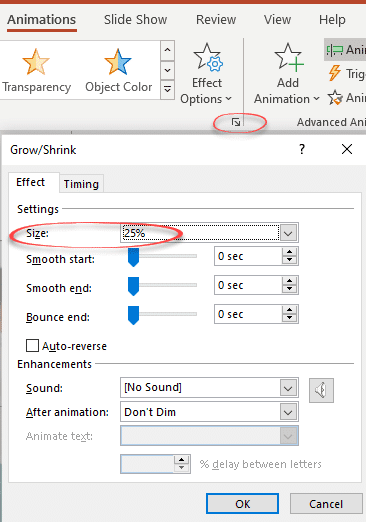
Exactly what percentage depends on the image and the amount of zoom.
Test and Try
Now you have the image in position and the Grow/Shrink animation in place … test out the zoom percentage and image position until you find the right settings.
Keep the timing to the short default while testing because it will speed things up.
Duration and Delay
The last thing is changing the timing Effect settings | Timing
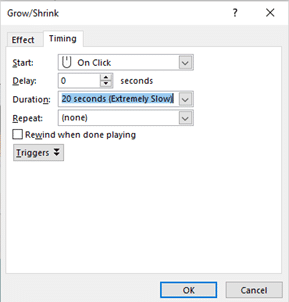
Duration – fast or slow is your choice. Type in a number of second, you’re not limited to the selection of times in the pull-down list.
Delay – a pause before the zoom out starts.
Repeat – if you want the animation to repeat.
Finally, change the Picture Transparency back to 0% or however you want it to appear.
Ken Burns Effect in PowerPoint
Pan across a still image in PowerPoint – Ken Burns effect part 2
PowerPoint Ken Burns Effect complete – part 3
PowerPoint Background Animation or Ken Burns Effect in Mac only!