Interactive checkboxes can easily be added to your Word document for a variety of uses. Perhaps you need to create a to-do checklist to help monitor the completion of tasks on top of a collaboration document, or make it simpler for users to read and complete surveys or forms. Either way, we will provide you with a simple and easy to follow guide on adding a checkbox to a Word document.
Firstly, you will need to have access to the Developer tab, if you’re unsure on where to find it, you can find out more here.
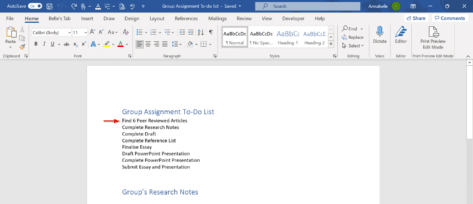
Next, you will need to type your list. Here’s our example below. From here we can input the checkboxes, firstly make sure to select your mouse at the beginning of your first line.
From there, you will need to go to Developer | Controls | Check Box Content Control
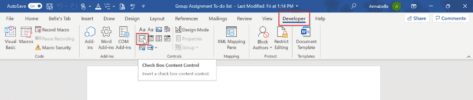
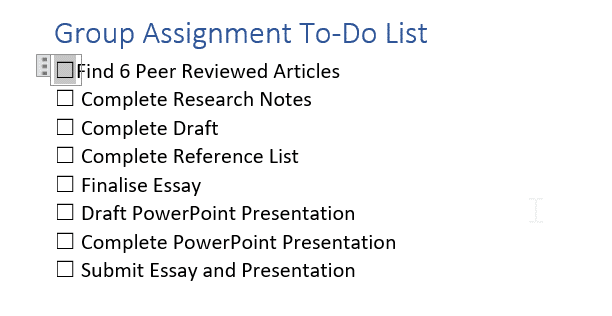
This will input your first checkbox. You can then copy the box and paste it in front of each list item.
Modify the checkbox
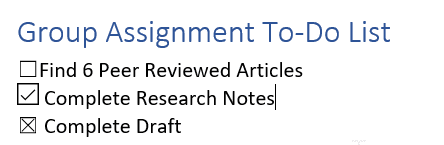
The default for a ticked checkbox is a cross symbol.

However, you can change this to another symbol if need be. Simply click the checkbox within your document and go to Developer | Properties | Checked symbol: Change…


Within the Symbol box, you can choose your preferred checked symbol. It may be easier to select a different font in the Font list to find the best one. We recommend Segoe MDL2 Assets, Segoe UI Emoji, or Segoe UI Symbol font. Once you’ve selected your symbol and OK, it will update the checkbox properties.
Just to note, it will only update the properties for the checkbox you have selected, so we recommend first modifying the symbol to your liking for that checkbox, then proceed with copy and pasting the modified checkbox to the remaining list. You can also modify the unchecked symbol too.
Lock text/controls
To prevent further changes, you can easily lock the text and controls.
Simply highlight your list and go to Developer | Controls | Group | Group
If you need to make changes in future, just use the same process however select Ungroup at the end.
