Last week we got a peek at the current White House notepaper and could not resist trying to make our own in Microsoft Word.

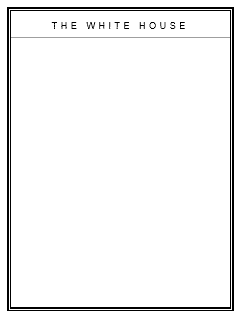
White House notepaper in the President’s hands – 21 Feb 2018
It’s a simple, classic look that anyone can use and adapt to their needs.
We’re not trying to make any political statement. This is just a practical exercise ‘ripped from the headlines’ to show some of the formatting tricks available in Word.
In this case you’ll see how to use tables to achieve formatting not immediately available in Word. It’s something we cover in Formatting Magic with Word. Also the font expand option tucked away in the advanced font settings.
Paper Size
Most likely The White House uses custom paper and paper size. We’ll be practical and use a standard Letter/A4 page, Landscape orientation then divided into 2 or 3 sections.
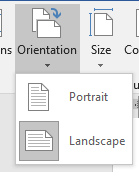
Choose the paper size and orientation on the Layout tab. Size for the Paper Size then Orientation | Landscape.
Heavy Paper
The paper is something heavy, a lot more than the standard 80gsm / 20-24lb paper normally used in photocopiers / printers.
Maybe 150 GSM / 40lb paper. Check out your local office supplies / stationery store. Look for something a little off-white which is easier on the eyes. Slightly rough paper feels better and is labelled ‘semi-smooth’.
Splitting up the page
It’s tempting to use Word’s columns feature to separate the page but we also need to put a frame around each notepaper edge so we’ll use a table.
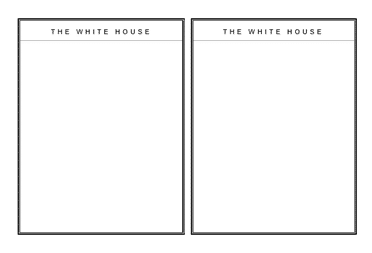
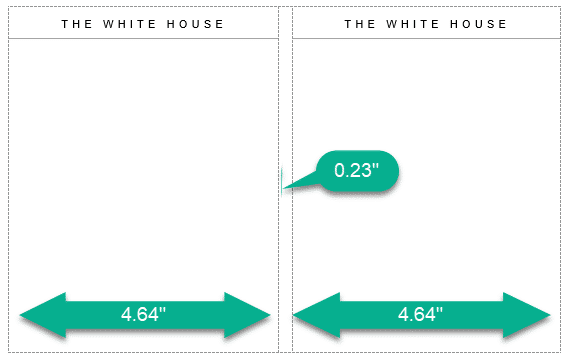
For this example, we’ll make a ‘two page per sheet’ as shown above, for the sake of simplicity. That’s a bit wider that the real White House notepaper. You might prefer expanding the table to a ‘three pages per sheet’ option.
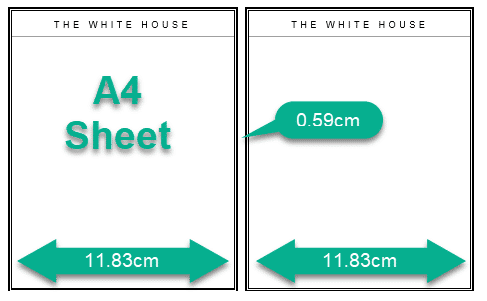
We’ll be using US Letter measurements in inches for this example. A4 paper settings in centimeters are also shown.
Insert a table with a single row and three columns. The center column is a separator between the two notepaper pages.
Table Settings
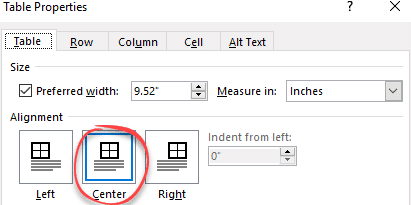
Width: 100%
Alignment: Center
Here’s the table without borders and the table gridlines showing. The approx. widths of the three columns are also shown (they may vary on your page).
Letter size sheet 8.5 x 11″
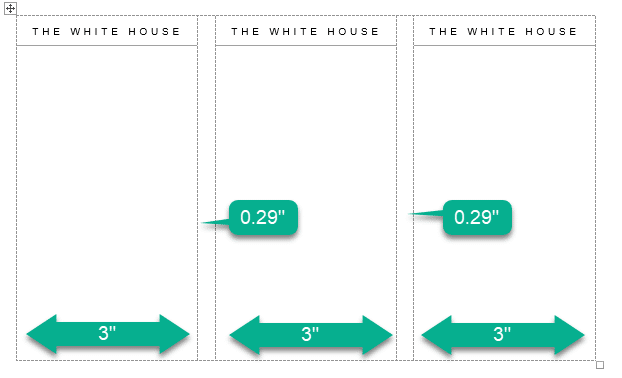
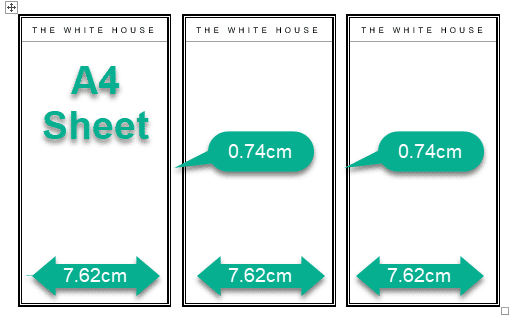
Here’s the measures we used for a ‘three pages per sheet’ variation, also Letter sheet.
A4 sheet – 21 x 29.7 cm
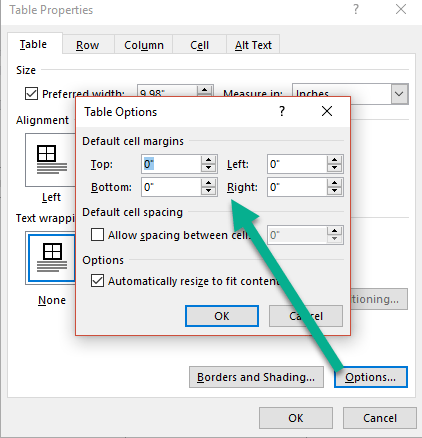
Cell Margins
Change the cell margins to zero (so horizontal line goes to the edge). Table Properties | Table | Options then change all four default cell margins to 0.
Border
Firstly, remove the default border from the table. Select the table and choose Design | Borders | No Border.

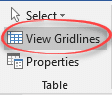
If it isn’t already, turn on the table gridlines at Layout | View Gridlines or on the Borders pull-down list.
The notepaper border is one the many available in Word with a thick outer line and thin inner line.
Select the first cell then Design | Borders | Borders and Shading.
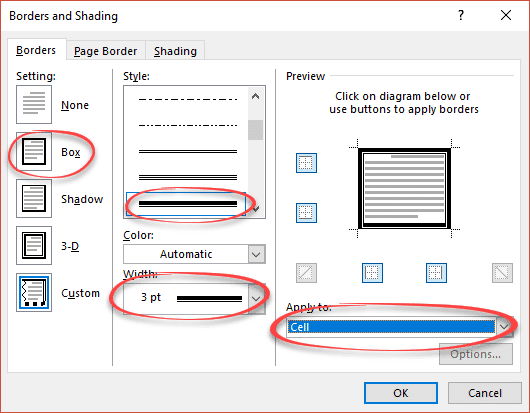
Apply to: Cell
Setting: Box
Style: scroll down to the ‘thick then thin’ option.
Color: Automatic or black
Width: 3pt
Preview: make sure all four edges are selected.
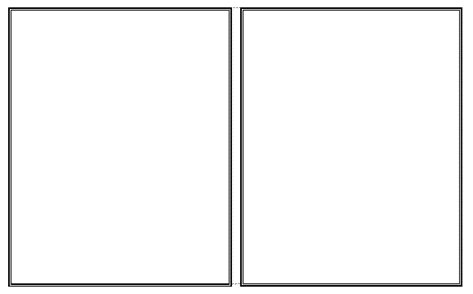
The result looks like this, with the center cell acting as a gap between the notepaper cells.
Text and Font
Now add some text and choose a font.
Standard White House font is Garamond Bold, a serif font available in Office. But the notepaper pictured has a sans-serif font which is hard to identify from the photos.

We’ve used Arial – a common sans-serif font that’s been in Windows/Office for years. It’s not an exact match, but similar. We’d be interested to hear other opinions on the font used.
We settled on Arial, 14pt

The trick is to stretch the letter spacings using the Font | Advanced | Spacing | Expanded | by 5 pt.
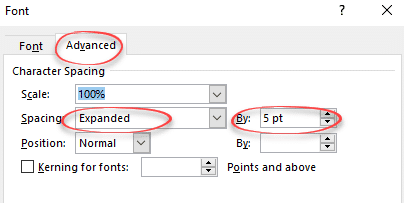
We chose 5pt spacing.
For comparison, here’s normal spacing and the expanded 5pt.

Horizontal Line
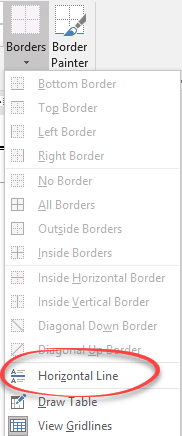
Finally, add a horizontal line under the title. Go back to the Borders pull-down (again) and choose Horizontal Line
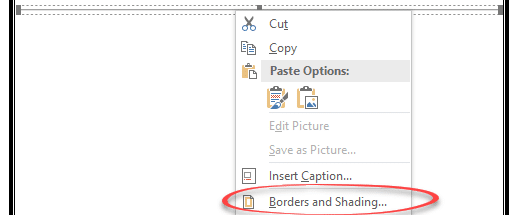
Then right-click on the horizontal line to format it via the Borders and Shading option.
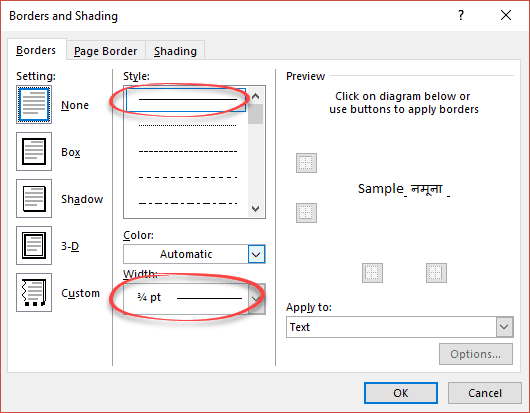
Style: straight line, the first option
Color: Automatic
Width: 3/4pt
Because we’ve set the cell margins to zero, the line joins the border on each edge.
To fill the page, press Enter below the horizontal line until you’ve filled the page. Yes, you could set the row height but just adding some empty paragraphs gets the job done!
The Result
Of course, you can and should change the title to suit you.
