There are a couple of email preview options in Outlook. These include the Message Preview and using the Reading Pane (once called the Preview Pane). We’ll explain them in detail including how to turn these features on and off plus viewing attachments in the Reading Pane.
Message Preview
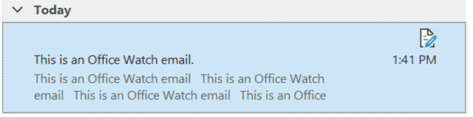
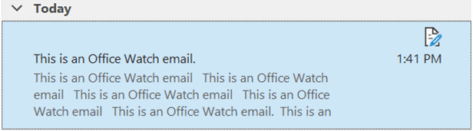
Message Preview is an auto preview that displays 1, 2 or 3 lines of your email, as well as the subject header and sender details.
Access it via View | Arrangement | Message Preview. Here you can choose between 1 Line, 2 Lines, 3 Lines or completely turn off the feature.
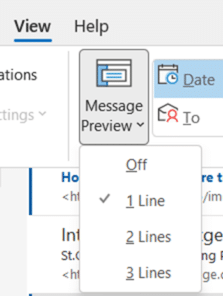
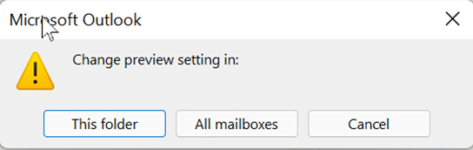
Once you’ve selected your option, a box will appear to confirm if you want to change the preview setting in the current folder, all mailboxes, or to cancel the action.
1 Line

2 Lines
3 Lines
Off

Reading Pane
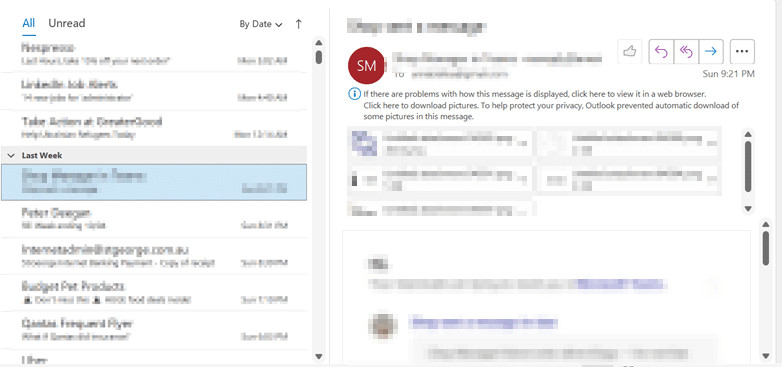
When you select a message in your message list within your inbox, the Reading pane will display the message, and give you an easy way to access the file attachments without having to open the email in another window.
A short history of the Outlook Reading Pane
There was a time when Outlook didn’t have a reading pane, there were third-party add-ins instead and it usually appeared below the message list.
Then Microsoft added a Preview Pane which, for some time, used Internet Explorer to display HTML messages. It was a cheap and easy solution for Microsoft but left the door open for hackers who could potentially infect a computer without someone fully opening the email, just appearing in the Preview Pane was enough.
To this day, Microsoft security announcements include a response to this FAQ “Is the Preview Pane an attack vector for this vulnerability?”. Because of those Preview Pane concerns.
These days Outlook has a Reading Pane which has its own method of displaying messages with (hopefully) proper protection against malicious emails.
The new name reflected the fact that many people didn’t open emails in a separate window but used the Reading Pane for most of their email work.
Now the Reading Pane has in-built options to reply and forward messages too as well as better attachment options. Maybe at some stage, Microsoft will decide to ‘jazz up’ the name from Reading Pane to something gross like the Action Pane <sigh>.
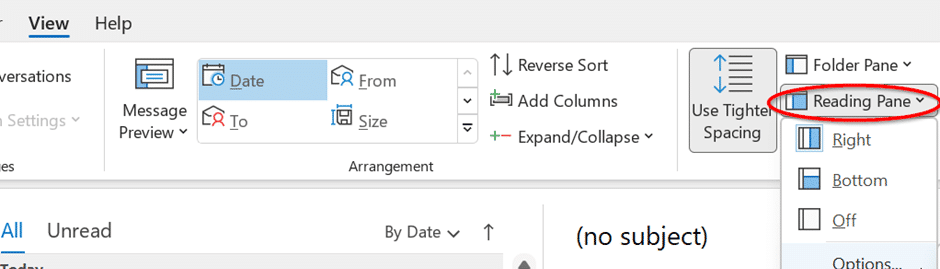
Control the Reading Pane
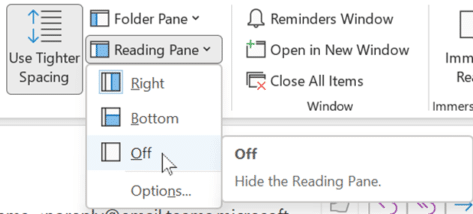
To access the Reading Pane, go to View | Layout | Reading Pane. By default, it’s on and to the right.
Move the Reading Pane
You can select to move the Reading Pane either Right or the Bottom of the page. It all comes down to personal preference.
Preview on Right Side
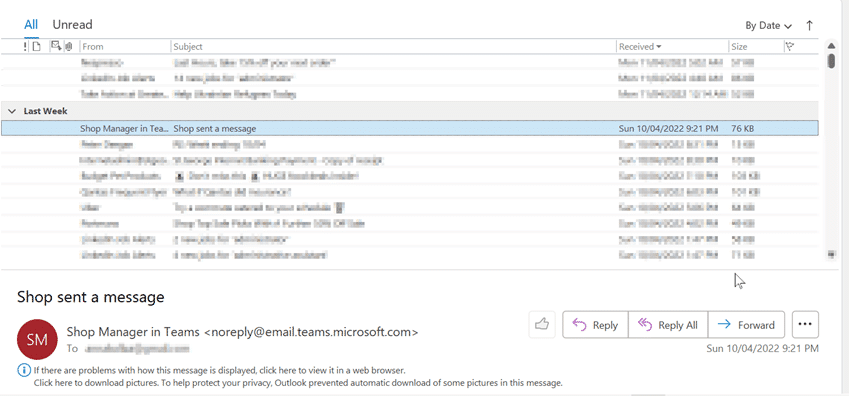
Preview on Bottom
You can also adjust the Reading Pane to increase or decrease in size. Simply hover your mouse over the point in between the reading pane and inbox list until the cursor changes to the vertical divider.
From there you can drag the cursor either left/right to increase/decrease or up/down to increase/decrease depending on which preview option you have.
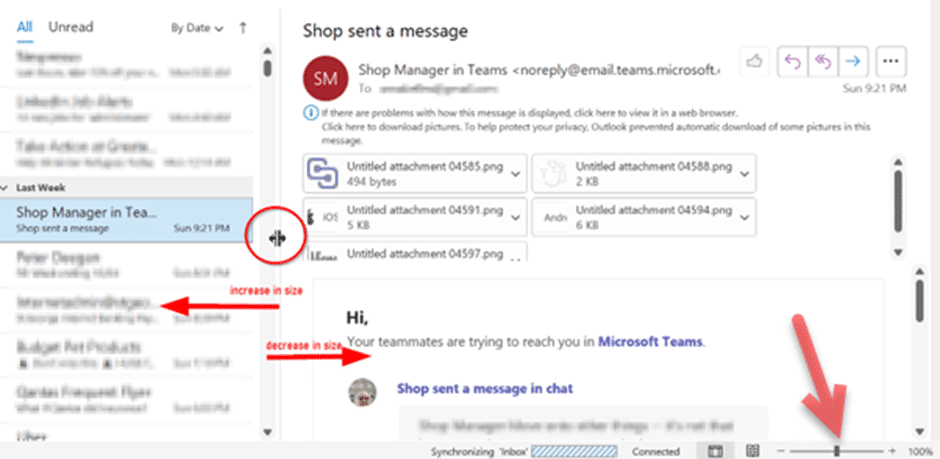
At bottom right is the Zoom slider to increase the viewing size inside the Reading Pane. Just like the same slider in Word, Excel and PowerPoint.
Attachment Preview
Most common message attachments can be previewed in the Reading Pane. Click on an attachment to see it in the pane. Here’s a PDF attachment viewed in Outlook.
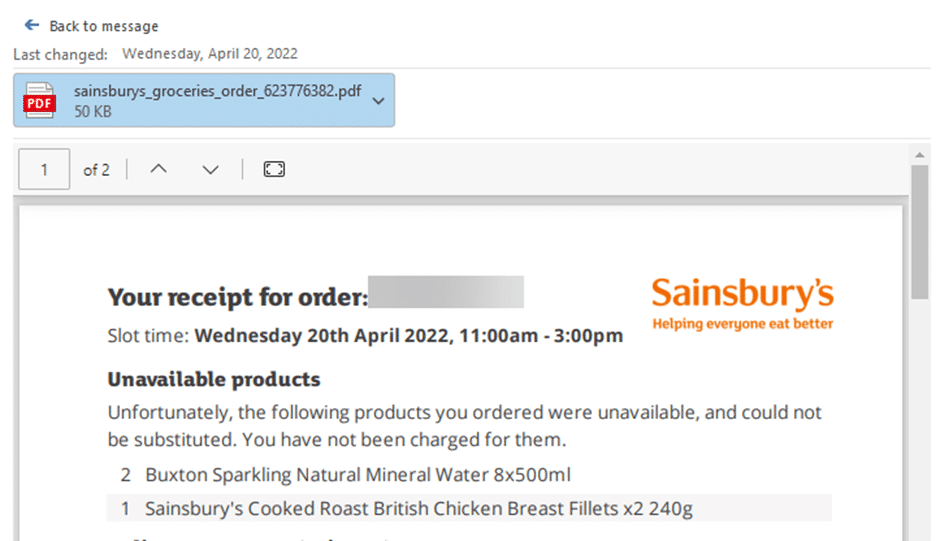
Word, Excel and PowerPoint files can be previewed as well as images. What can be previewed depends on the software installed. By default, Outlook and Windows can’t preview PDF attachments but there are extras like the Adobe Reader or Windows PowerToys that fix this annoying omission by Microsoft.
Turn Off the Reading Pane
Turning off the reading pane will hide it only for the folder you are in.
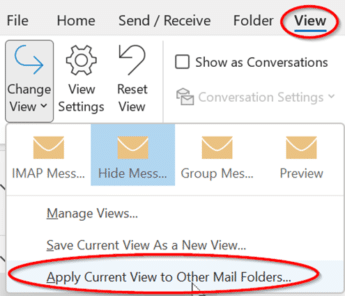
If you want to turn it off for multiple folders, you’ll need to go to View | Change View | Apply Current View to Other Mail Folders. You’ll need to make sure you’re in the current folder where you’ve turned the Reading Pane off.
A new Outlook coming soon
Add an iCalendar .ics to an Outlook calendar but be careful
Outlook app is ending for older Android devices