There are several ways to add images into an Office SmartArt graphic; the official Microsoft way plus some others that aren’t usually mentioned for Word, PowerPoint and other Office apps.
In the introductory piece, Much better lists with SmartArt , we looked at the SmartArt basics which are much the same in Word, Excel and PowerPoint. We converted a list of countries and territories into a much nicer graphic.
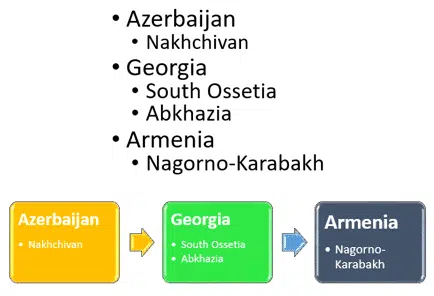
Now let’s see what other tricks are available by adding images to SmartArt.
Even if you don’t use SmartArt, we demonstrate some of the image editing power of modern Office.
Picture Designs
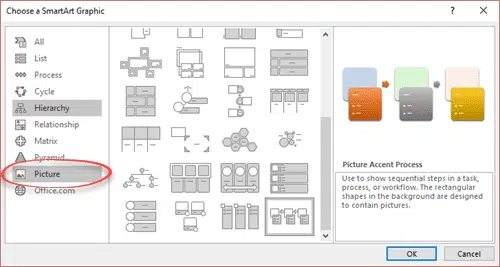
Some SmartArt styles include space for an image. Go to Insert | SmartArt | Picture to see the styles.
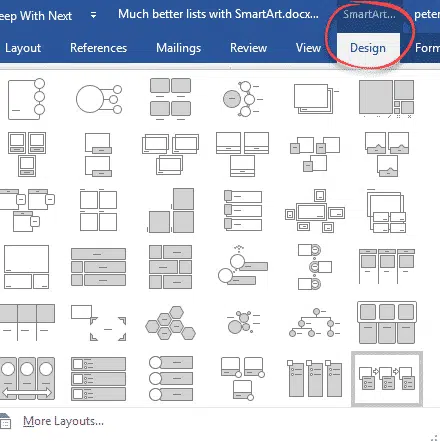
There are many SmartArt picture styles. Go to SmartArt | Design to see the gallery. The gallery defaults to showing the same type of design, in this case SmartArt’s with pictures.
Here’s our example SmartArt list with images in different presentations.
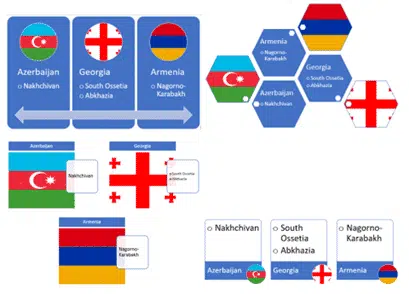
As you can see, some designs work better than others, depending on the situation.
Adding pictures
Type or paste your text list, as usual.

Add/change the images by clicking on the ’empty’ boxes at left.
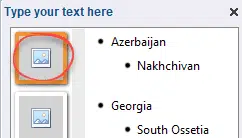
That opens the standard Insert | Image options for your computer including online image search. That’s handy in situations like this, which needs the flags of each country.
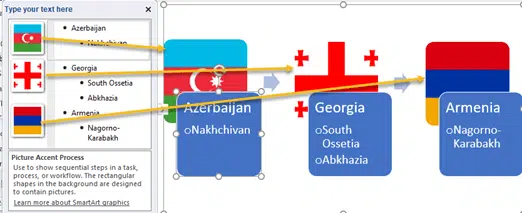
Changing SmartArt images
Once you’ve inserted an image, the thumbnail in the ‘Type your text here’ box doesn’t do anything.
To alter the image, you click on the SmartArt version of the picture. It’s not always obvious, but clicking on the image opens the Picture Tools ribbon, just like any other image.
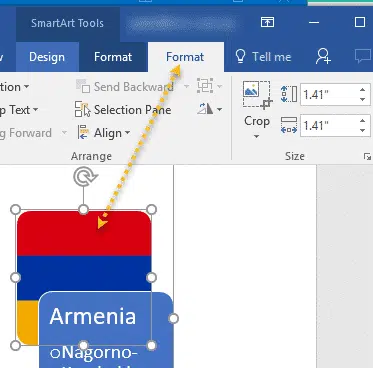
This ribbon has all the image editing options available in Office. This includes Change Picture which isn’t possible from the SmartArt pane.
Office 365 for Windows lets you change the SmartArt picture to one of the new ‘Icons‘ or SVG graphics. You can’t insert an Icon first but you can insert a placeholder image then use Change Picture to access the Icons.
Picture Tools
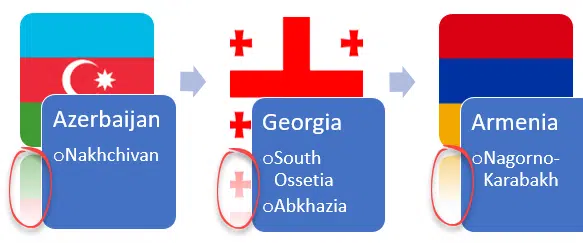
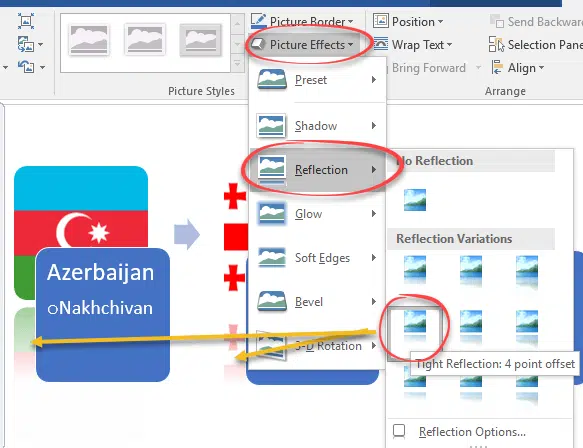
All the regular Picture Tools are available to separate images in a SmartArt. For example, here’s the Picture Tools | Picture Effects | Reflection effect to add a little more to the SmartArt.
Recolor Pictures in SmartArt graphic
One option NOT on the Picture ribbon is special for SmartArt images.
It recolors the image to match the SmartArt color scheme or theme selected.
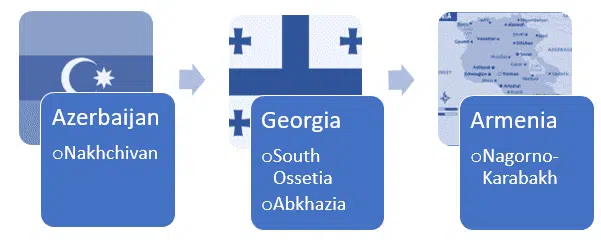
This applies to all the images in a single SmartArt. Do it by going to the Color theme selector and choosing ‘Recolor Pictures in SmartArt Graphic’.
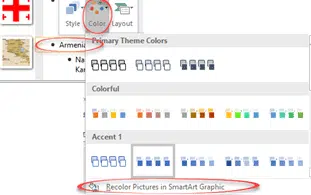
This setting applies to all pictures in the SmartArt shapes including any added/changed later.
Mixed Recoloring
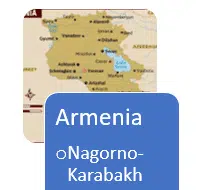
To get a mix of recolored and original images you have to disable this option and manually recolor the images. That’s easily done by selecting an image then Picture Tools | Color | Recolor and selecting a color that matches the SmartArt theme.
It’s not polite to recolor a national flag so we’ve only changed the map image.
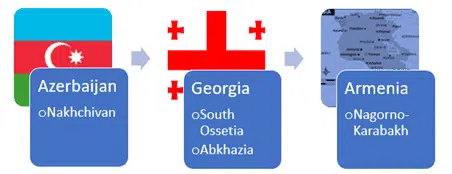
Delete an image
To remove a SmartArt image, select the image and choose Cut from the right-click menu.
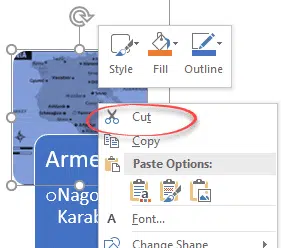
The image will revert to the ’empty image’ thumbnail.
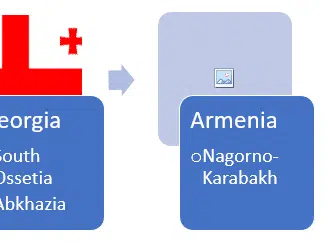
Most likely you’ll want to remove all the images, not just one. Do that by changing the SmartArt to another, non-picture, style.
Pictures in non-Picture styles
There are many SmartArt styles that, officially, don’t support pictures. Just because they aren’t listed as ‘Picture’ doesn’t mean you can’t use images.
SmartArt is a preset collection of standard Office shapes (squares, circles, arrows etc.). You have a lot of power to change those shapes to suit.
One option is to change the background color to an image. Here’s an example with two shapes changed to background images.
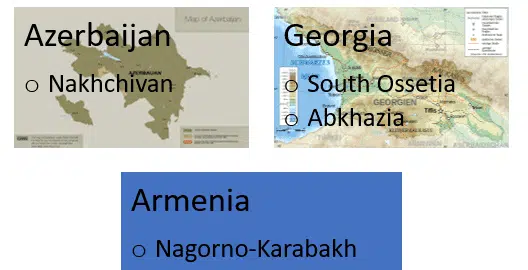
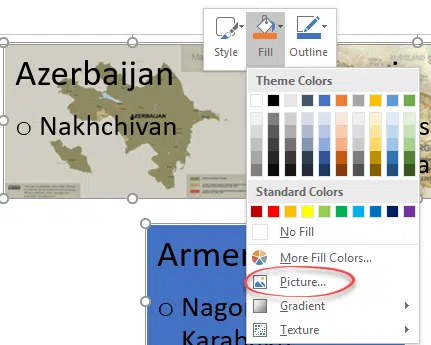
Right-click in a SmartArt shape, choose Picture and select an image.
Background image
It’s also possible to put a background image behind the entire SmartArt.
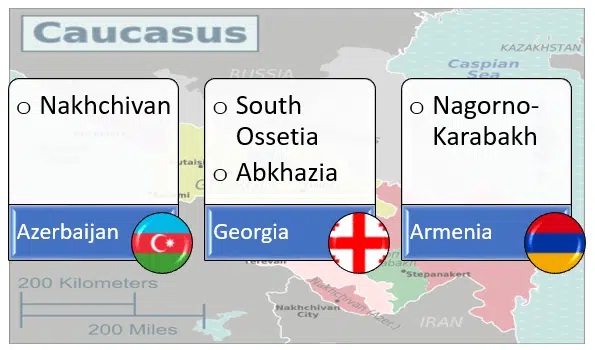
Right-click on the background and choose ‘Format Object’. Then select an image or other fill color/pattern/gradient.

Tip: a fast option to add a background image. Copy the image into the clipboard. Click on the SmartArt background then Paste. The clipboard image which be added as a background.
It’s likely that the background picture will be too strong or bold, overwhelming the SmartArt. Fix that with the Transparency slider.
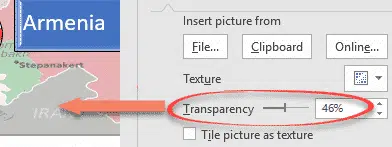
Manual Pictures
Adding a separate image to SmartArt isn’t as simple as you might expect. The normal Insert | Picture doesn’t work within a SmartArt (the image is pasted outside the SmartArt frame). A bit of Office-Watch.com cunning is needed.
The workaround is to add a shape to the SmartArt then insert the image as a background to the shape. Click inside the SmartArt then choose Insert | Shapes.
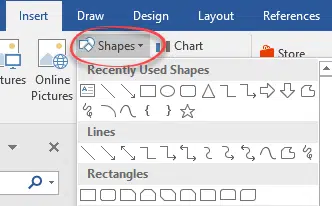
Select a suitable shape like a rectangle, rounded rectangle or oval. Draw it into the SmartArt in (roughly) the position you want.
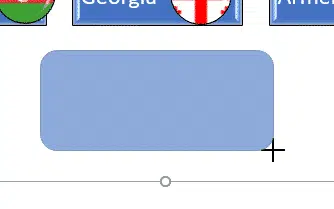
Add the image from Drawing | Format | Shape Fill | Picture.
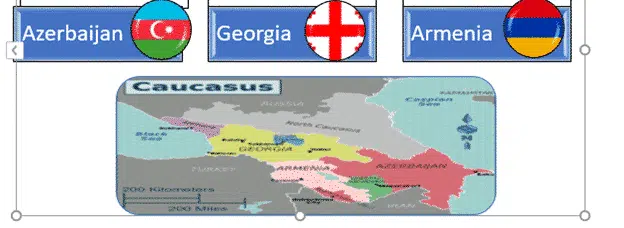
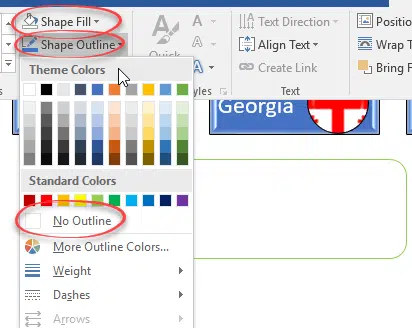
Optionally, remove the shape outline from Drawing | Format | Shape Outline | No Outline.
Political Note
This article was written while visiting the Caucasus region, hence the country and region names used in the examples. Many of the regions are disputed territories. The grouping we used are for demonstration purposes only. They don’t represent the current status of the territories nor any political view. We’re not taking sides in those disputes, merely demonstrating some features of Microsoft Office.
Much better lists with SmartArt
Use Icon/SVG as Bullet in Word list
Sketchy line option in Office for Windows and Mac