Manual column breaks let you control exactly where Microsoft Word wraps text to the next column, instead of letting Word do it automatically. Here’s how to insert a column break, find one and delete it.
To put your text into columns, highlight the text and go to Layout | Page Setup | Columns and choose the number of columns you want to use. We will do a two-column layout.

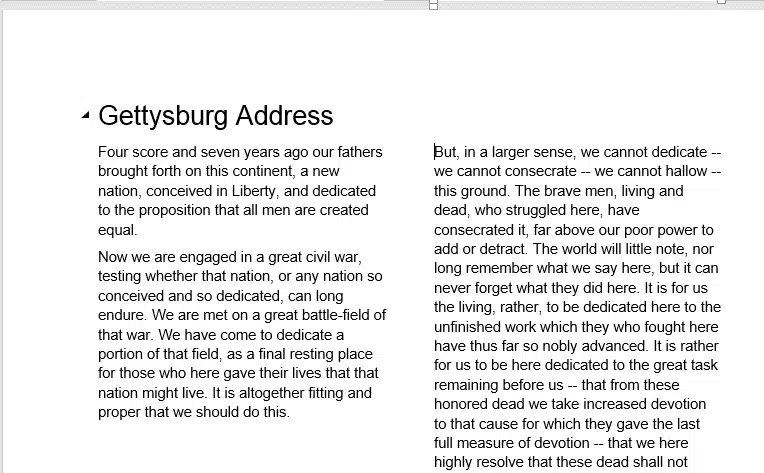
The text is now laid out in two columns:

Inserting a Column Break
Let’s say we don’t want our text to go to the new column in the middle of a paragraph, so we want to put a column break where the new paragraph starts. Put your cursor at the point where you want the text to go to the next column and do one of the following:
- Press Ctrl + Shift + Enter.
- Go to Layout | Page Setup | Breaks | Column.

Now our new column starts at the beginning of the paragraph:

Deleting a Column Break
It’s easiest to delete a column break if you can see it, and to see it you need to turn on Show All under Home | Paragraph.

Now you can see the column break, just click at the beginning of the page break line and click Delete.

Removing Columns
If you decide you no longer want your text in columns, just go back to Layout | Page Setup | Columns, and this time select One.

If you still have any column breaks in the text when you turn it back into a single column, those breaks will remain and will act like a page break. To get all the text back onto one page, just remove the column break as described above.
Add a Manual Page Break in Word
Section Breaks in Microsoft Word
Text formatting in Excel with wrapping, line breaks and merging