Continuing our series on the ‘Not Allowed’ symbol, let’s make a version with a black background and white center graphic.
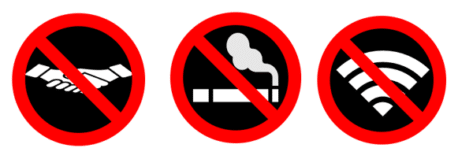
This isn’t part of the official ISO specification for the symbol but it’s widely used.
It’s done by adding a black circle under the main circle/line & graphic (which is changed to white, naturally). An example of the Office graphics layer feature.
Start with the circle with diagonal line graphic see Make a ‘Stop’ circle / diagonal symbol in Word, Excel & PowerPoint
Then Insert | Shape and choose an Oval. Change that to a circle by fixing the width and height to the same value. Of course, change the fill color to Black.

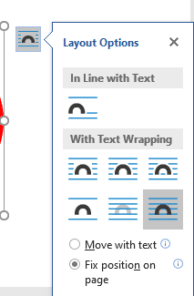
Make sure both graphics have layout with text wrapping and ‘Fix position on page’.
Place the black circle over the red circle/line graphic. Resize the black circle so it’s inside the outer rim of the red circle but not
Then choose Shape Format | Arrange | Send to Back so the red line goes over the black circle.
Now you have a red circle/line symbol with black background.

Save this pair
We suggest saving this pair of graphics (circle with diagonal line and black background) separately.
That will make it easier to make other signs/symbols later. Just copy the pair of graphics then drop in the new icon/graphic.
Add icon or graphic
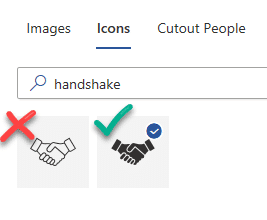
Select an icon or graphic to complete your symbol. We’ll use an Office icon (Microsoft 365/Office 2019) but any graphic is OK.
The trick here is NOT choosing the ‘white’ Office icon. The white version of Office icons are really transparent, showing the color of the layer underneath.
Instead choose the ‘black’ icon then change the fill color to White.
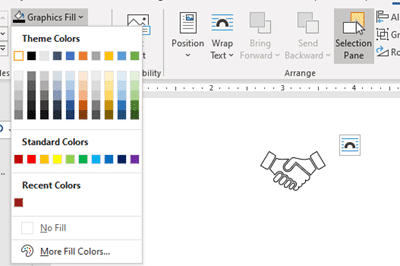
Go to Graphics Format | Graphic Styles | Graphics Fill and choose White. That makes the entire icon disappear on a white page! That can be hard to manage so we change the Graphics Outline to Black so there’s something visible, temporarily.
Change the Layout for the icon to with Text Wrapping and Fix position on page, just like the other graphics elements. Then drag the icon over the circle and black graphic pair.

Move the icon behind the circle/line with Graphics Format | Arrange | Send Backward.
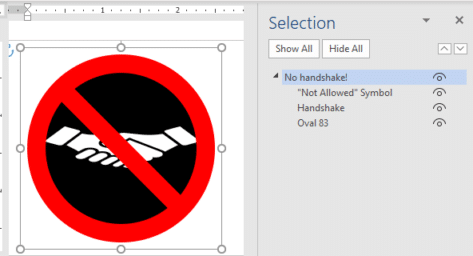
Finally, group the three graphics together (Graphics Format | Arrange | Group) and give the elements labels for easier reference. Select all three objects by holding down the Ctrl key while selecting.
Nice variations for Stop shape in Word, Excel & PowerPoint
Yet more ways to insert the Stop circle and line symbol in Office
Make a ‘Stop’ circle / diagonal symbol in Word, Excel & PowerPoint
Making lines in Word and stopping them!