More details on the image insert or linked options in Office, Word documents and Outlook emails.
We’ve already talked about the three options available for documents; Insert, ‘Link to File’ and ‘Insert and Link’.
Insert adds a copy of the image into the document
Link displays the current external picture within the document.
Insert and Link adds a link to the original image with an embedded copy in the document as well.
Inserted or Linked?
How can you tell if an image has been inserted into the document or linked?
There’s no easy way to tell. Right-clicking on an image gives no clues, let alone a mention of the link (if any) to an image.
There is a way to find out but it’s not simple and really buried in Office.
Edit Links to Files
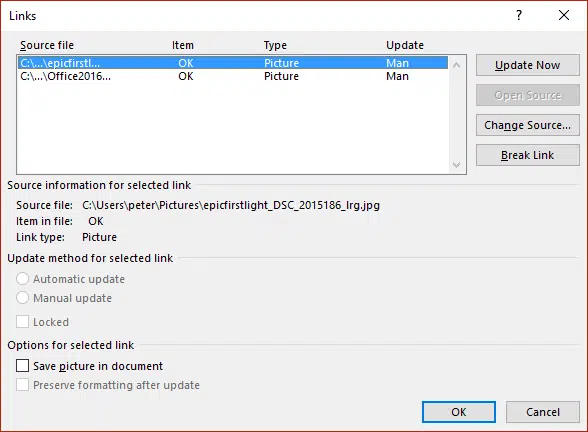
The command you want is ‘Edit Links to Files’ and looks like this:

It’s really hard to know where to start in listing the limitations of this dialog box. It seems no developers at Microsoft have looked at this dialog in many, many years. We’ll note some of the problems with this dialog box so you don’t find out the hard way.
The list of sources doesn’t have the usual column width handles nor is it sortable. That makes it difficult to navigate a long list of links.
Source File: the link to the source file. Click on ‘Change Source’ to select another file. That button opens at the default folder, not the location of the current source file.
Item in File: It’s hard to see the link in the list but select a row and it appears in the area below the list. Unfortunately, the link text isn’t selectable. It would be useful to select the entire link to use it in Explorer or a browser.
Type: the type of link, for our purposes it’ll always be ‘Picture’.
Update: is the link updated/refreshed from the source automatically or only on request (i.e. the Update Now button).
Locked: no updates to the link.
Save Picture in document: keep a copy of the image saved in the document. This is the ‘Insert and Link’ option.
Break Link: removes the link to the external image and keeps the current image saved in the document. This command can be reversed – go back to the document and choose Undo (Ctrl + Z) then return to the ‘Edit Links to Files’ dialog.
The biggest problem with the ‘Edit Links to Files’ dialog is the lack of association with the document itself. There’s no way to know where a particular link is used in the document. You have to keep a track of that separately.
Get ‘Edit Links to Files’
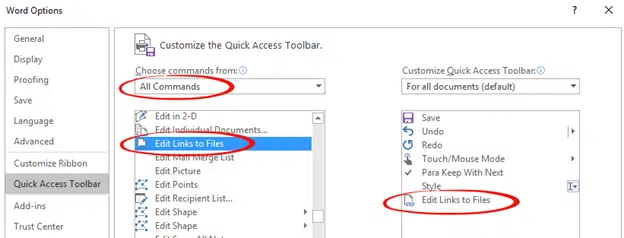
But first you have to find the ‘Edit Links to Files’ command. It’s not on the ribbon so you have to find it and place the icon on the Quick Access Toolbar or customized ribbon.

Choose the ‘All Commands’ list then scroll down to ‘Edit Links to Files’.
When links go wrong
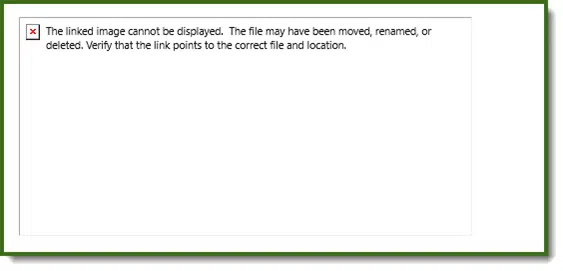
If the name or location of a linked image changes then Office can’t find it anymore. When you open the document, it will show as an empty rectangle, similar to a missing image on a web page or Outlook email.

Fix the link by replacing the image block with a working image or image link. Alternatively, go to ‘Edit Links to Files’, select the broken link and choose Change Source.
Consider using the ‘Insert and Link’ option instead. However, as we’ve already noted, there’s no warning if the link is broken.
Three choices to add images to Office and emails
Two choices to make a PDF – Save or Print?
Five Change Case choices in Microsoft Word