There are three main ways to run a macro in Microsoft Office (Word, Excel, PowerPoint or Outlook). From the Macros list, from a button on a ribbon or from the Quick Access toolbar.
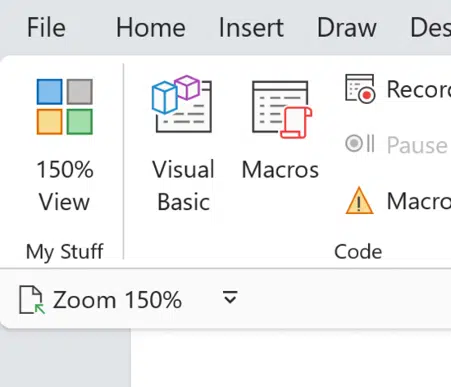
We previously spoke about how to install an Office VBA macro, here’s how a macro can appear on the ribbon or Quick Access Toolbar.
Run Macro
The basic way to do it, is to use the shortcut Alt + F8 (Option + F8 on a Mac) to open the Macro dialog box.
Then you can select the macro name from the list and then select Run.
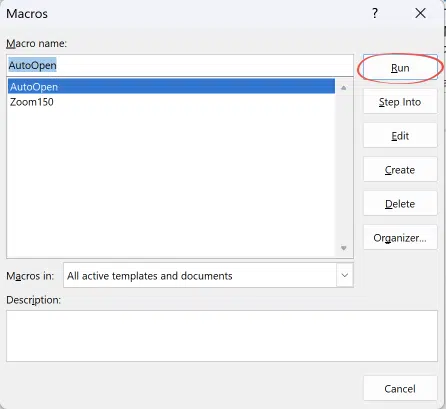
Another way to reach to Macros dialog is via the Developer tab. See How to get the Developer Tab in Office apps Go to Developer | Code | Macros.
However you reach it, the Macros dialog box lists all the available code. Select a macro then choose Run.
Another option is Step into .. which helps troubleshoot by opening the code in the VBA Editor ready to run.
Add a macro to the ribbon
For easier access, add a button to the ribbon. See Make the Office ribbon more useful, add your choice of buttons
- Right-click on the ribbon and choose ‘Customize Ribbon …’.
- In the right-pane select the ribbon and group you want the button to appear on.
- You may need to create a new group on the ribbon e.g. “My Stuff”
- Choose commands from … select Macros
- Select the macro you want on the ribbon.
- Click Add
- The up / down arrows let you move a button around the ribbon.

That adds a button to the ribbon but with the full name and taking up a lot of space.

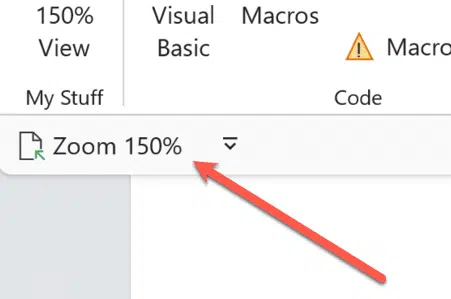
Go back to Customize Ribbon, select the macro button from the ribbon list at right then Rename. Shorten the Display Name and, if you like, choose another icon from the limited selection.
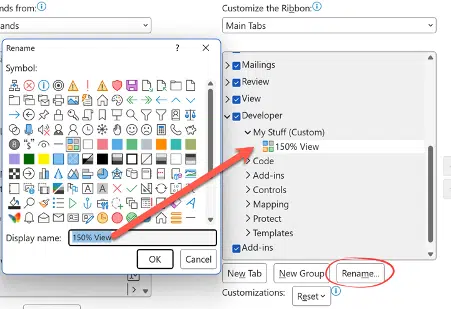
And finally, moved the new block from the right to a more prominent position on the left side.

Add a macro to the Quick Access Toolbar
If you wanted to add a macro to your quick access toolbar, simply click on the down arrow at the end of the toolbar or right-click and select ‘More Commands’.
From there you can select Macros from the ‘Choose commands from …’ drop down menu

Now you can see all the available macros, add the macro into the toolbar and press OK.
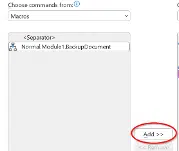
Then it’ll be easily accessible in your QAT though with a long name (Project . Module . Macro).

You’ll probably want to shorten the name or just an icon do that via the Modify button on Customize the Quick Access Toolbar.

There are other ways to run a macro which we’ll cover in future articles, a shortcut key or a button in a document or the automatic options.
How to get the Developer Tab in Office apps
Make the Office ribbon more useful, add your choice of buttons
Make and customize your own tab on Office Ribbon