Whether it’s no smoking, talking, eating or whatever you can make your own ‘Prohibited’ or ‘Not Allowed’ symbol for serious or fun reasons. Whether you want to block a specific action in a document, presentation, or worksheet, Word, Excel and PowerPoint make it easy to design your own customized “Don’t” symbol. From combining shapes to inserting icons and formatting overlays, here’s how to create clear, professional prohibition symbols tailored to your exact needs.
They are good examples of unusual ‘Not Allowed’ symbols beyond the usual No Smoking, No Phones etc ones. Like these with icons, text or both.
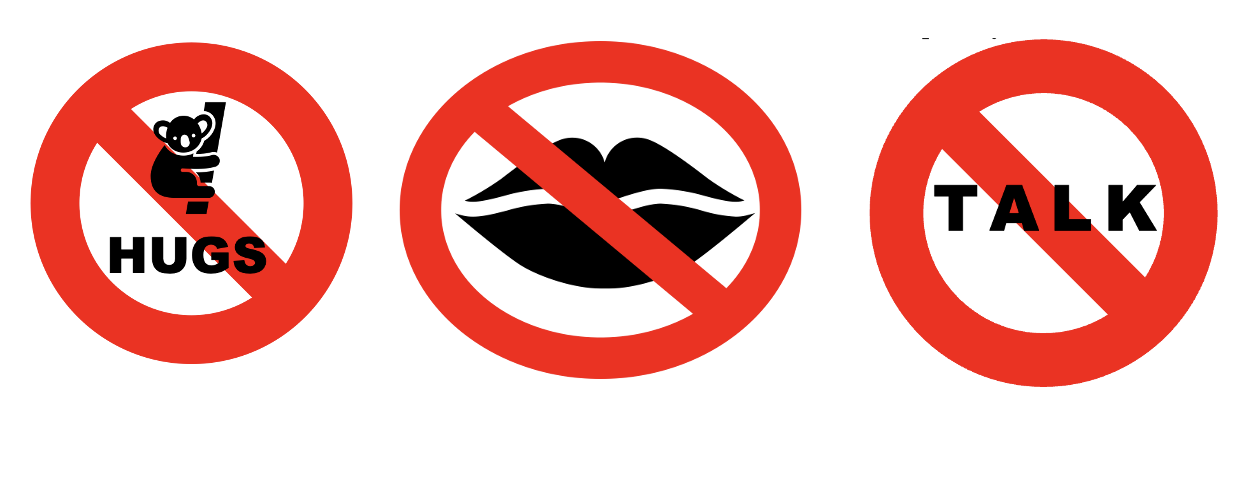
We’re inspired by this sign from an EU Commission held in March 2020. We do wonder what goes on at serious EU conferences that requires a ‘No Kissing’ rule, but we’ll leave that to your imagination <g>.

Find an icon or symbol
Start by finding a symbol or graphic for the thing you want to stop.
Microsoft 365 / Office 2019 icons are perfect for this. Insert | Icon and do a search. They are usually black or white outline. Microsoft 365 we found icons for kiss, handshake and even hug!

Or a web image search will find something. With Google Image search we looked for ‘kiss icon’ then clicked the Black option to narrow down the search.
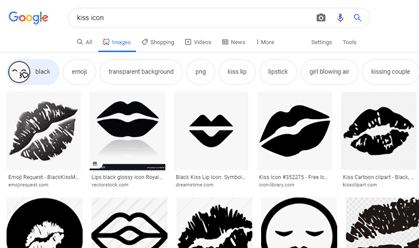
Adding ‘icon’ to a keyword search should leave out many photo or colorful results.
Keep your icon or graphic simple so it’s clearly visible and understood under the circle and line.
Insert the icon or graphic into Word or PowerPoint, as usual.
Standard Not Allowed symbol
Then insert the circle with line graphic as a shape or icon.
See Make A ‘Stop’ Circle / Diagonal Symbol In Word, Excel & PowerPoint
Layout Options
For BOTH graphics, change the Layout option to ‘With Text Wrapping’ and ‘In Front of Text’. Other Text Wrapping settings will work but ‘in front’ is the safest.
Fix position on page is important

Now you have the two graphics next to other, or at least near.

Overlay
Drag the circle and line graphic so it’s over the other symbol – or vice-versa.

Almost there, just a few tweaks necessary.
Resize the middle graphic
Now you can see the two graphics together. Resize the middle graphic so it fills most of the inner circle and is centred.

This is also the place for other tweaks, like maybe changing the graphic from black to a dark grey.
Send to back
The black symbol is over the diagonal line. We’ve seen that occasionally but usually the line is over the graphic.
Do that by selecting the black graphic then going to Graphics Format | Send Backward | Send to Back. That puts the black icon on a lower drawing layer than the circle/line graphic.

Or you could choose the circle/line graphics then use Bring Forward | Bring to Front.
Group
This isn’t strictly necessary, but it will save you a lot of hassle later.
Even though they appear together, the two graphics are treated separately by Word or PowerPoint. It’s too easy for them to become separated and out of position.
The solution is to Group the two graphics. That locks the pair together so they are treated as a single graphic. The group can be moved around the document or slide deck.
Select both graphics (hold down Ctrl while clicking on each) then choose Graphics Format | Arrange | Group.

If you’ll be using the graphics pair a lot or in multiple documents, add labels to the individual graphics and group. Open the Selection Pane (Graphics Format | Arrange) to change the bland defaults into something obvious.

Symbols Emoji Microsoft Office Windows and Mac
Make a ‘Stop’ circle / diagonal symbol in Word, Excel & PowerPoint
8 simple ‘Prohibited’ symbols for smoking, phones, kids and more in Word
Paste Icons or SVG from Office documents to other apps