There are two options for changing the default fonts in Excel, either for new blank workbooks or existing spreadsheets.
Maybe you prefer another font. Perhaps the old default font until mid-2023, Calibri. Or a spreadsheet specialist font like Goldman Sans. Maybe your organization or client has a preferred font?
Go ahead and change the font using the option provided in Microsoft Excel to change the default font for new workbooks/sheet or just the current spreadsheet.
Change default font for new workbook/sheet
This will change the default font for any new blank workbooks.
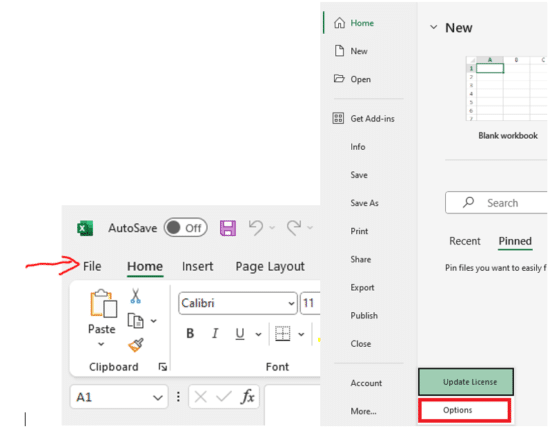
On the Excel menu, click on the File tab, and then click Options.
From the ‘General” options, go to “When creating new workbooks”.
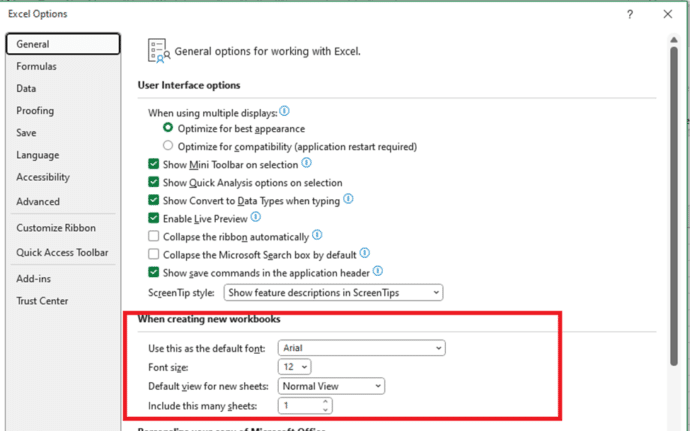
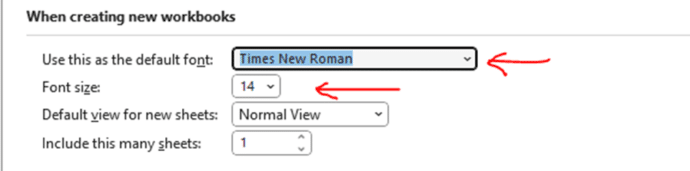
Pick a font of your choice from “Use this as the default font” dropdown option and you can also choose to select the Font size of your choice.
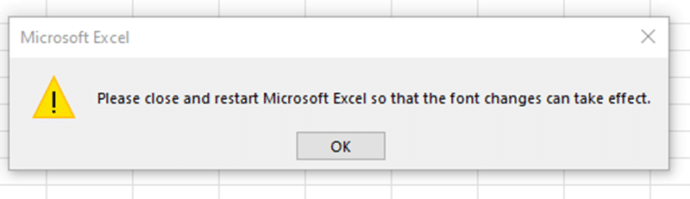
Click OK to save the settings and Excel will ask you to close and restart your Excel application for the changes to be effective.
On restarting Excel, go to File | Home | New Blank Workbook you will find the changed default.
Note: This change in settings will not impact any existing Excel files.
Change the default font for an existing workbook
To change the existing workbook, you can use the Theme Fonts option from the Page Layout tab or a Cell Styles from the Home tab or even VBA code. Here we’ll look at changing Cell Styles or you can try Excel – using Themes to change fonts.
Cell Styles
You can use the Cell Styles option from the Home tab to change the default font in your existing workbook.
Select the existing worksheets and all cells in a worksheet before applying the Cell Styles. Whatever font style you apply, will be your default font for any new worksheets you create.
The steps to change the default font in the existing Excel workbook using Cell Styles are:
Move your cursor to the sheet name tab and perform a right click. Select the Select all Sheets

Then select any cell on the sheet and press Ctrl + A to select all cells. Now, select Cell Styles from the Home tab.

From the Cell Styles drop down option, keep the cursor on Normal, right-click and select the Modify option.

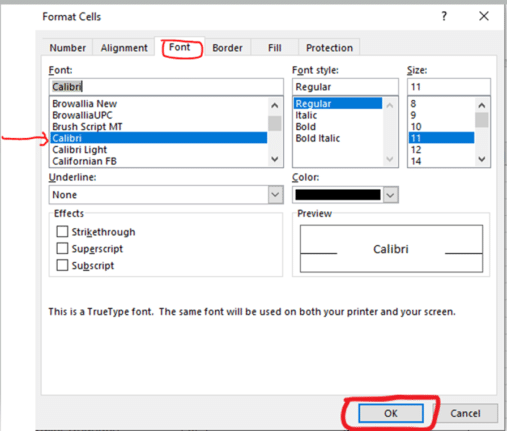
Select only the Font box and click on Format.
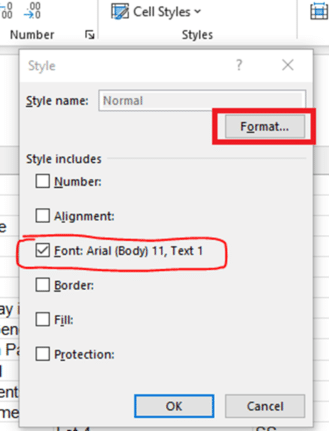
Choose a different font on the Font tab then click OK.
Now you see the changes applied to the font. Click OK on the Style box.

Now check the existing Excel workbook, you can see the applied font appears for everything you selected.

Excel – switch away from Aptos fonts
Microsoft Word – switch away from Aptos fonts
Outlook – change away from Aptos font
Surprise! Office 2021 & Office 2019 has the all Aptos fonts
New default font, Aptos, in Microsoft 365 and Word