Create your own fun, satirical ‘Halloween costume’ pack in the style of a popular meme using just Microsoft Word or PowerPoint. Use this article as a year-round example of how to overlay one image over another plus adding text to a picture.
Take a blank Halloween costume image, add an image and some text. Something like this is easy to make in any modern version of Word or PowerPoint
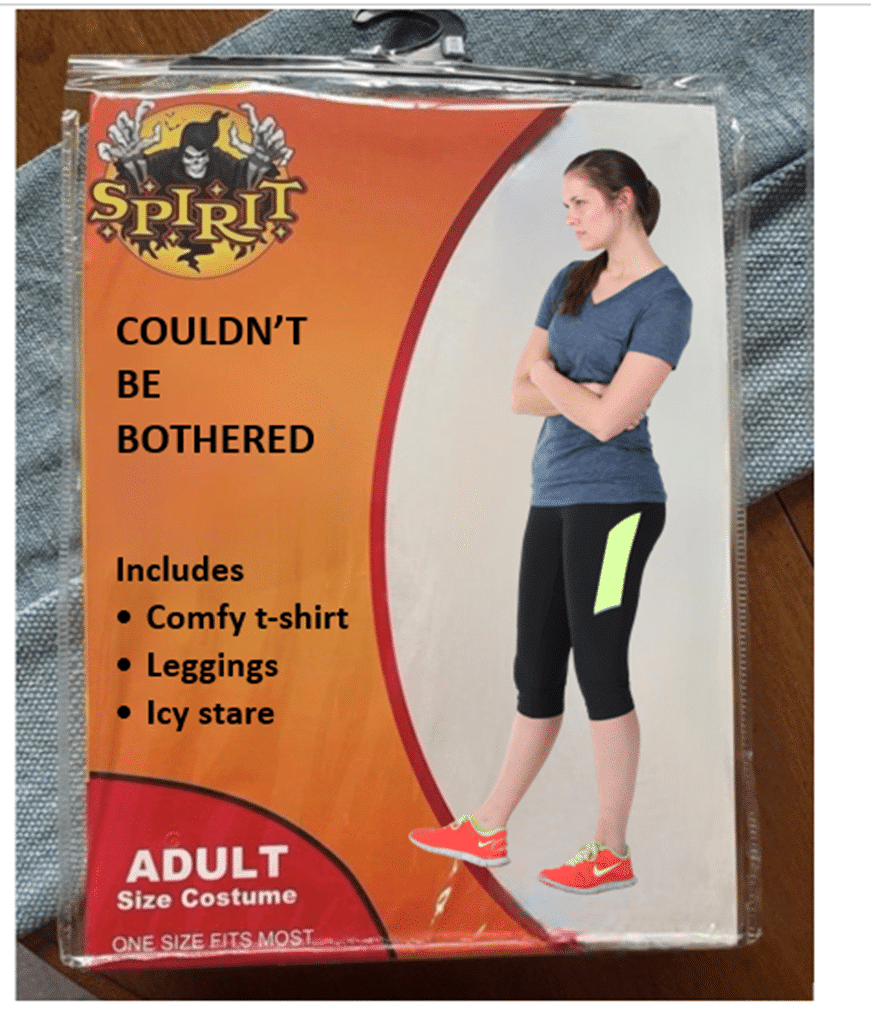
- Start with the empty Halloween costume pack
- Choose an image with transparent background
- Overlay one image over another
- Overlay transparent Text Boxes
- Group images and text boxes together
See more Halloween suggestions – images, icons, fonts and more.
The meme started, as far as we can tell, with this tweet.
Start with the empty Halloween costume pack
Start from the blank image from the Twitter message above. In your browser, right-click on the image and choose ‘Save image as …’ or ‘Copy image’ (or similar, depending on the browser).

Paste the picture into Word or a PowerPoint slide.
More Halloween help using Microsoft Office – images, graphics, fonts and more.
Choose an image with transparent background
Insert an image with a transparent background. Microsoft 365’s Cutout People or Cartoon People are easily available options, albeit a little bland for Halloween.

There are many images available online, give them transparent backgrounds using the Background Removal Tool that’s been around since Office 2010.
Overlay one image over another
Insert the image, choose Layout Option – with Text Wrapping, In front of text. That tells Office to overlay the new image over the blank package picture. Drag the image over the blank package.

Notice how the foot goes over the brown/orange area? A little touch like that makes the result look more professional. Perhaps the head, hand or arm could creep to the left, depending on the image you use.
Overlay transparent Text Boxes
Then insert one or more Text Boxes (from the Insert tab) and add some text.
Each Text Box needs some changes to make it both transparent and no outline. On the Shape Format tab:
- Shape Fill | No Fill
- Shape Outline | No Outline

Also change the Layout Option to With Text Wrapping | In Front of Text just like the overlaid image mentioned above.
Drag the text boxes into position and you’re done!
Here’s the whole thing with each element showing in the Selection Pane.

Group images and text boxes together
Optionally, group together all image pictures and text boxes so they can be kept together and not accidentally moved out of alignment. Group and Ungroup objects in Word, PowerPoint and Office
Image privacy breach still in Microsoft Office
Make transparent images in Office for Windows
Make a transparent shape to mask a photo in Word, PowerPoint and more