An envelope graphic—crafted entirely in PowerPoint! It’s a versatile design element that works for both personal and professional needs. Whether you’re communicating with customers, making special announcements, or enhancing presentations with a creative touch, an envelope icon is a powerful visual asset. It can also be used effectively to showcase images in business presentations.
We’ll show how to make an ‘open envelope’ graphic with all the elements under your control for color, size etc.
Once you have that base, change the elements to make whatever you need. For example a simple ‘Thank You’, ‘red envelope’ in the Chinese and Asian tradition or a picture with text.

Along the way, you’ll discover some of the neat tricks available in the Office Shapes feature.
Make the Envelope Base
Start by creating the base or inside-back of the main envelope, go to the Insert tab and click on Shapes. From the drop-down menu, select the Rectangle shape and place it on your slide.

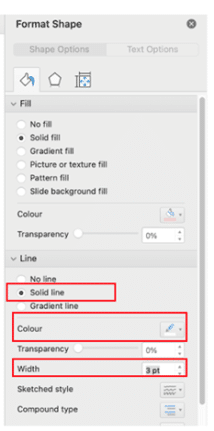
To customize the rectangle’s color, right-click the shape and select Format Shape. In the Fill section, choose Solid Fill and pick your desired color—here, we’ve selected black. Next remove the outline, navigate to the Line section and choose No Line.

Inserting Triangles
Use the Triangle tool from the AutoShapes menu to draw two triangles facing each other. Make sure their bottom edges align with the left and right edges of the rectangle you created. While this may seem time-consuming at first, it becomes easier by following these steps.
Go to the Insert tab, then select Shapes | Isosceles Triangle
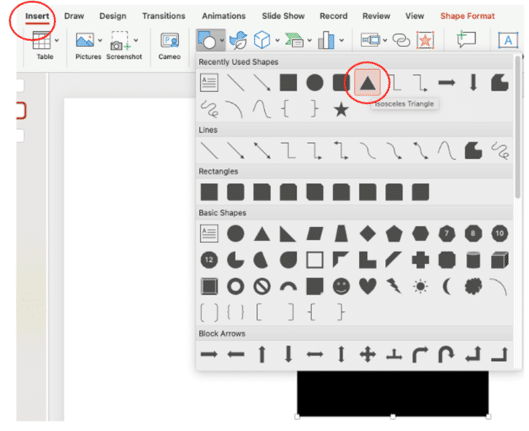
(for those of us who don’t remember our high-school geometry, an Isosceles Triangle has two equal sides and two equal angles).
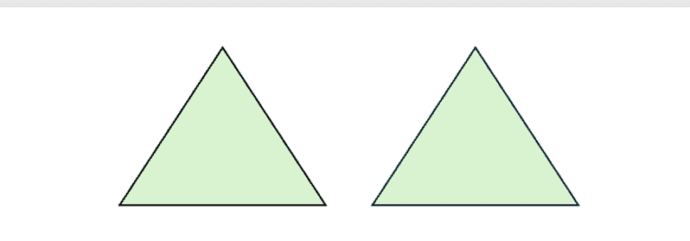
Add this to your slide and duplicate it by pressing Ctrl +D (Windows) or Command + D (Mac). This will create two identical triangles, as shown in the screenshot below.
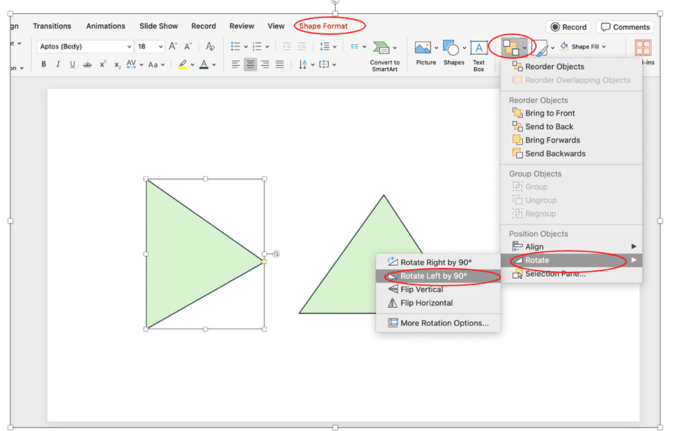
Rotate the triangles manually using the rotation handle so that their pointed edges align and meet each other.
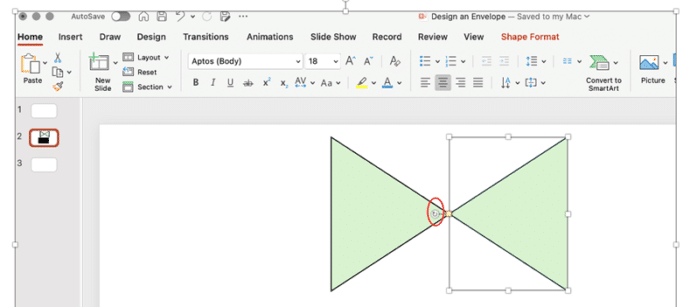
You can also use the Arrange options under the Shape Format tab to quickly and automatically rotate the triangles. These options allow you to flip the triangles either vertically or horizontally or rotate them to the right or left by 90 °, making it more efficient and precise. You can further customize the height and width of the triangle by selecting the More Rotation options.
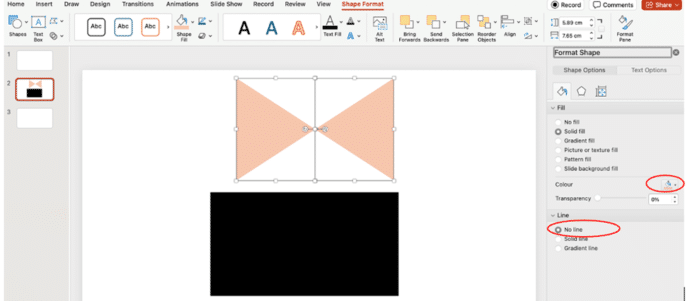
Next, hold down SHIFT and click on both the triangles to select them. Then, go to Shape Format > Shape Fill and choose a color of your choice. To remove the outline, select Line | No Line.
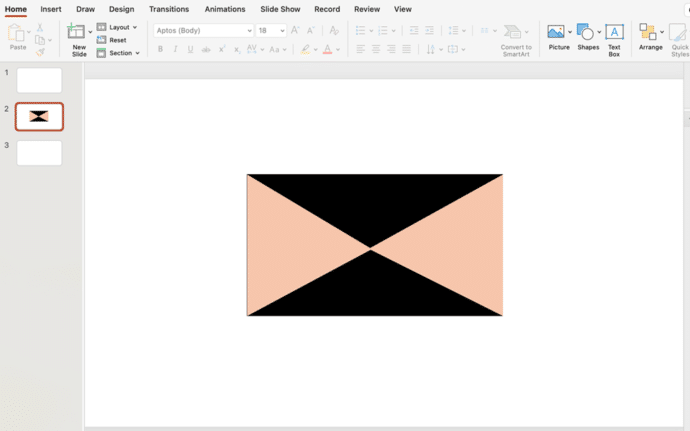
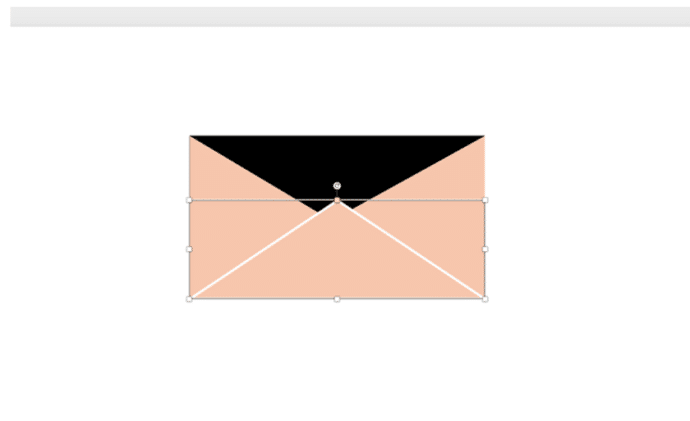
Place these shapes over the rectangular shape that we had designed earlier. Your image will look something like this:
Next, make the bottom part of the main envelope. Insert another triangle slightly larger than the previous one. Ensure that its base aligns perfectly with the bottom edge of the rectangle, as illustrated in the screenshot below.
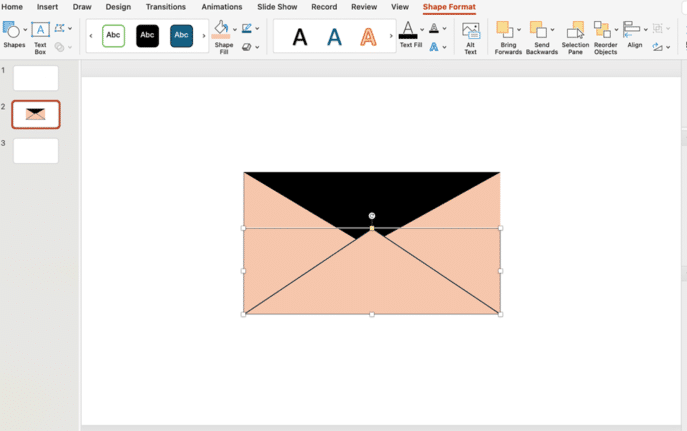
Apply an outline to the triangle by selecting Line | Solid Line, then fill it with white or any colour of your choice. After that, increase the line width to your preference—here, we have set it to 3 points.
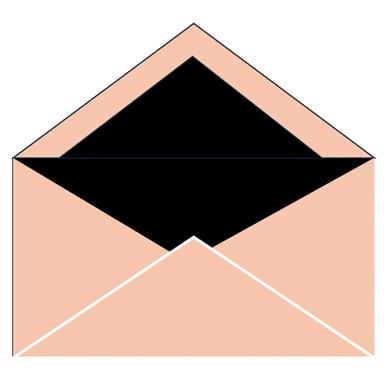
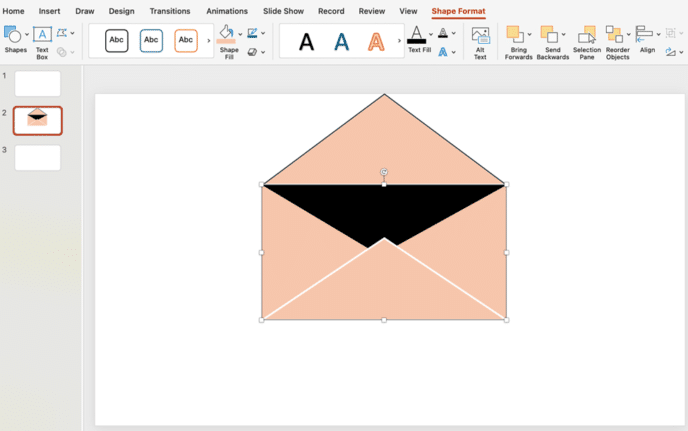
After applying the outline, your envelope should resemble the one shown in the image below:
Designing the Flap
Create the envelope top flap by inserting another triangle and aligning its base with the top edge of the rectangle.
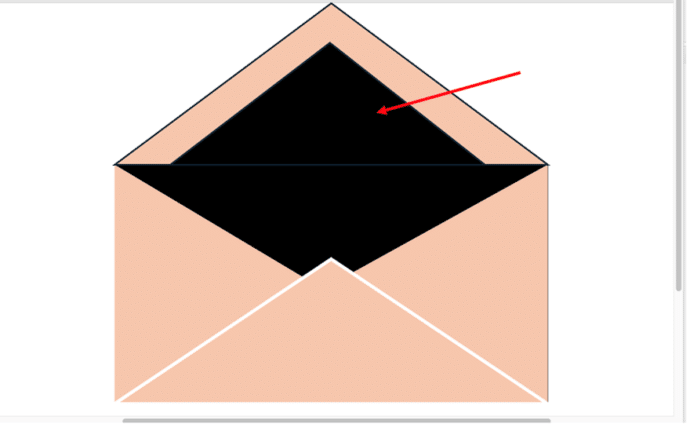
Add another triangle and place it over the flap to create an effect like this.
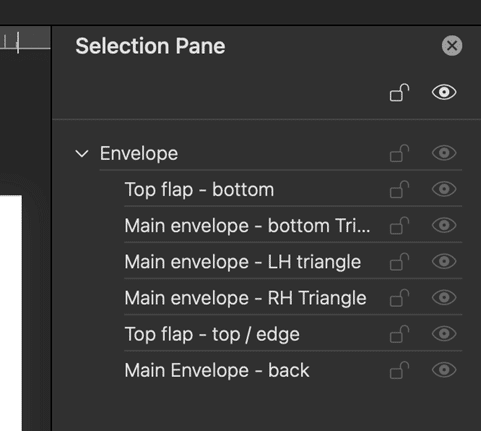
Add Selection Pane labels
Now you have a ‘blank’ envelope, almost ready for use.
Save yourself a lot of trouble in the future by labelling and grouping the envelope elements.
Open the Selection Pane on the Shape Format menu then rename each of the shapes from their default names to something easier to understand.
Then select all the elements and Group them into a single object. That allows the whole ‘envelope’ to be selected, move and copied as a single thing.
See Selection Pane in Excel, PowerPoint and Word to learn a lot more about the Selection Pane.
Now you have an envelope graphic, ready to use in any presentation you like.
Save the ‘blank’ envelope so it’s ready to copy into future slide decks.
Next we’ll show how to add a message (letter or card) to the ‘inside’ of the envelope.