Just as there is a Handout Master to control how slide printouts look, there is also a Notes Master which has more control over how PowerPoint printed notes with slides will look.
If you’ve used the Handouts Master, Notes Master will be warmly familiar to you. Notes Master is like a simplistic template with some power to formats the Notes printout.
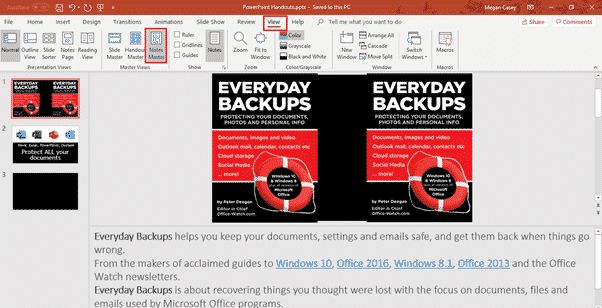
Open the Notes Master from View | Master Views | Notes Master.
This will add a new Notes Master tab to the ribbon, with a number of different options you can customize.
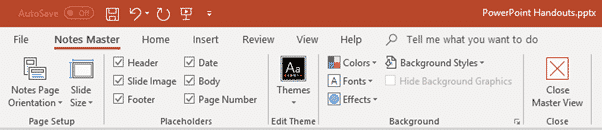
Page Setup
The first tab on the Notes Master ribbon is the Page Setup options. Here you can choose:
- Notes Page Orientation – whether you want a vertical (portrait) or horizontal (landscape) layout for your page.
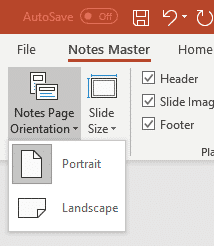
- Slide Size – the standard options here are standard or widescreen, but you can also choose to set a custom slide size.
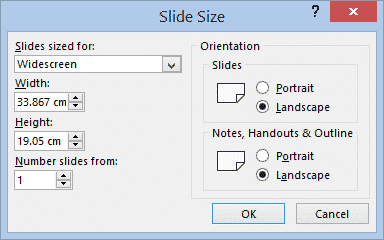
The Slide Size dialog also gives you the option to change the numbering on your slides by setting a different starting number.
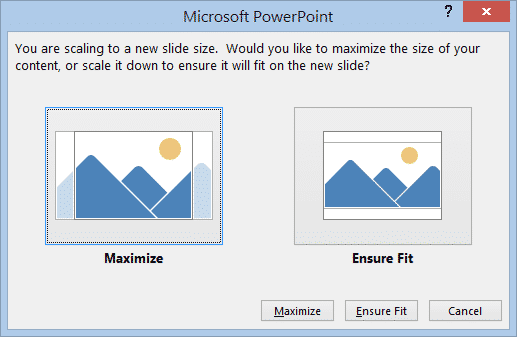
When you choose standard or custom slide size, it is possible that some of your slide content may not fit within the new size, so you are asked what you want to do if it doesn’t fit. You can maximize the content (some parts on the sides may get cut off) or ensure fit (the content will be a little smaller, but all will be visible).
Placeholders
The Placeholders tab allows you to determine whether each of six elements will be included in your notes printout, the content and format of those elements, and where they will appear.
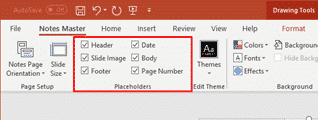
- Header & Footer – here you can add text to appear at the top and bottom of each page. By default, these appear at the top and bottom left of the page, respectively.
- Date – automatically inserts the current date at the top right-hand corner of the page.
- Page Number – automatically inserts the correct page number at the bottom-right hand corner of the page. These will start from page 1, unless you have set a different starting number in the Slide Size dialog described above.
- Slide Image – if you want to print out your notes only, without the slides, untick this box. The Slide Image is represented by the black rectangle in the preview.
- Body – unticking this box removes the notes text from the slides, although if you don’t want to print the notes, it would make more sense to be using the Handout printing options instead. The Body section is represented by the white rectangle in the preview.
Click in each of the placeholder fields to add or edit content. There is a lot of flexibility in what you can add here – you can go to the Home tab or Format tab to change fonts or paragraph styles, add text effects, shapes, or format the placeholder box itself. Click back onto the Notes Master tab when you have finished your formatting. This is particularly useful for formatting the appearance of your notes themselves, which you can do with quite a bit of detail in the Body placeholder box.
Note that while it looks like you can format the slides themselves here as well, you cannot really. Double-clicking in the Slide Image placeholder actually takes you to the separate Slide Master where you can set up the overall appearance of your slides.
Moving the Placeholders
You can move any of these placeholders to a different location by dragging them. For example, if you prefer to have the notes at the top, and slide at the bottom, you can grab them and drag them to swap them around. They work much like Text Boxes in Word.
Formatting the Placeholders
The placeholder boxes can be formatted individually. Click on the box so the border handles appear. The Shape Format tab also appears with all the familiar options for Fill, Outline and Effects.
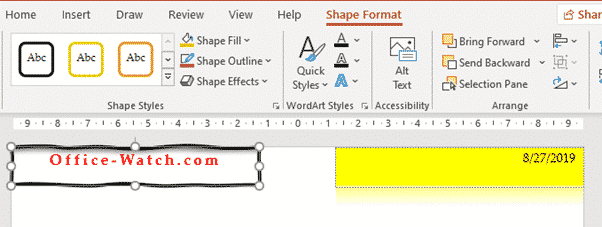
Sketchy Shape border and Reflection fill in PowerPoint master handout.
Background and Theme
The Background tab is where you can change the colors, fonts, effects and background of your printouts. This has been covered in detail in our Mastering PowerPoint Handouts article..
The Theme tab, and the Background Effects option, as also explained in Mastering PowerPoint Handouts, are a bit of a mystery and not explained even in Microsoft’s own documentation.
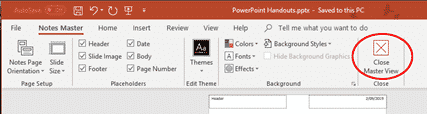
When you have finished designing your Notes Master, click the Close Master View button to return to your presentation.
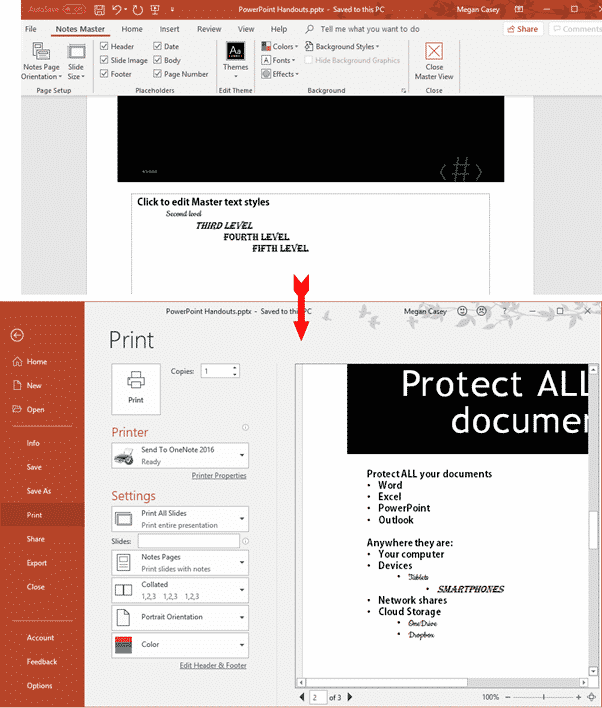
Preview Your Notes Master
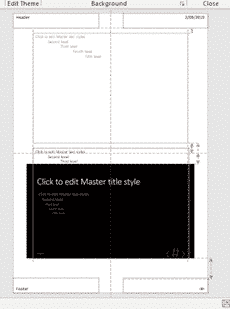
To see a preview of your printed notes pages, go to File | Print and click Notes Pages under the Full Page Slides dropdown. You can use the slider at the bottom right to zoom in and out if you need to see the details of your changes. Just as an example, I have changed the font on second and third level list items in the master, which you can see reflected in the print preview of the notes for our second slide.