Microsoft Designer now has a nice Erase tool to remove unwanted parts of an image. Finding Erase is a little tricky, we’ll show you where it’s hiding and how to get the most from Erase.
Erase lets you remove parts of an image. It’s not on the main image toolbar (with Replace, Remove Background etc.) but as one of the Effects.

With a few clicks we removed the ‘thought bubble’ and the coffee mug to get this.

Microsoft Designer – start using it now
Here’s another example with a photo.

Designer’s Erase replaces your selection with background, chosen from the surrounding image. It works quite well, see the ‘chair’ removal above which inserts the floor pattern (with black lines) instead.
Erase is a Designer Effect
Choose the Effects button on the image toolbar, then look in the Effects pane at left (see top image)
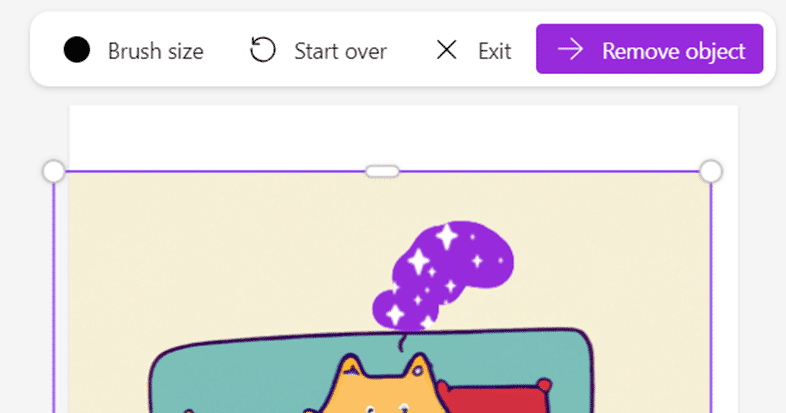
Click on the Erase effect option. Now the Erase toolbar appears to select a brush size then start erasing.

The erased area appears in blue with stars like this.

When you’re finished choose ‘Remove object.
Exit – leaves the Erase option
Start over – cancels the current erase attempt but leaves you in the Erase toolbar.
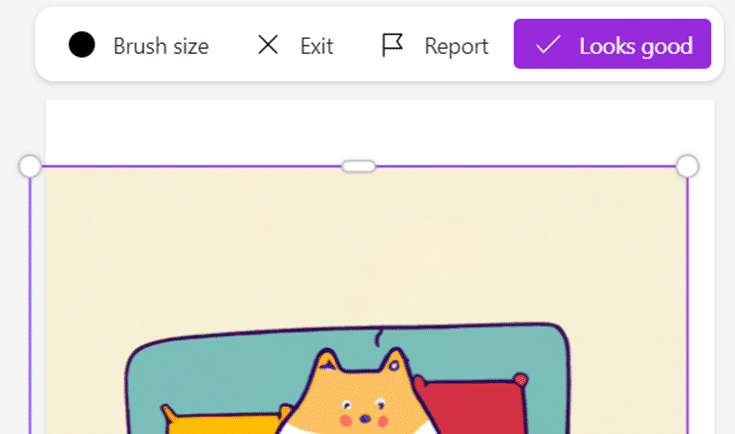
If you’re happy with the Erase choose ‘Looks good’. Undo the Erase via Exit.
Erase from photos
Erasing from graphics/toons is relatively easy, what about photos?
Designer Erase works quite well with photos. We tried removing the mug (left) from this image.

Designer handled the job nicely.

With more complex photos, Erase might have trouble figuring out what color/s to use after the Erase.
Erase is really Replace
Erase doesn’t really remove parts of an image. It’s actually replacing the selected area with another color or pattern based on the surrounding image.
That’s been pretty easy for Designer Erase to figure out in our examples (and Microsoft’s) but it might not always work properly.
In our tests, sometimes Erase left behind blurry blemishes, because the Erase algorithm has trouble figuring out what background color to use. Use Erase again to remove the blemishes.
Tips / Keep in mind
- Start with a smaller brush size, smaller than the Designer default.
- There’s no Undo while erasing. If you make a mistake while selecting an erase area, all you can do is ‘Start Over’.
- For small erases, use the Designer Zoom (on the top row) to get a closer view of the image and more easily remove small details. For example, the ‘thought bubble’ line just above the cat’s head.
