Here’s how to mask a photo with any Microsoft Office shape or icon and do it with full control over what appears from the original image.
We’ve already explained two simple ways to crop a photo to a shape or fill a shape with some options to move and resize each element.
This method has more steps but lets you move the picture and shape around to get exactly the look you want.
In short: convert a shape to picture, then use ‘Set Transparent Color’ to make part of the shape transparent. Finally overlay the shape/picture on the image you want to mask. There’s a few tricks and traps along the way …
Make a Shape or Icon
Start by inserting a shape Insert | Illustrations | Shapes where you’ll see the same/similar choices that are in Crop to Shape.

Try an icon or SVG
Microsoft 365, Office 2021/2019 Icons or other SVG graphic can also be used.
Edit options for SVG Icons in Microsoft 365, Office 2021/2019
Fill Color and Outline
Insert a Shape with a faint solid fill color that will blend with the picture you’ll be masking. A faint color because Office’s ‘Set Transparent Color’ doesn’t completely convert the shape to transparency. The edge that’s left will (hopefully) not show on the masked image.
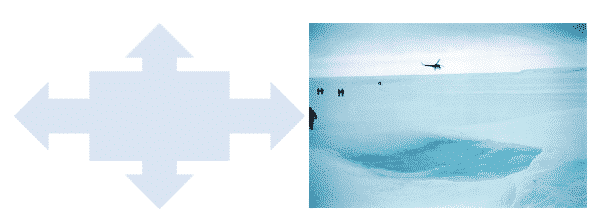
Here’s the light-blue colored shape (left) compared to the picture we’ll be masking (right).

OR: Use the Shape Fill color: White, Background 1, Darker 5% (just below full white on the color selector. That’s so faint that it all but disappears when converted to Transparent.

Outline
Choose an outline for the shape, if you wish. Use a very different color to the fill so Office can easily tell the difference between the fill (to become transparent) and the outline you want to keep.
Choose the Outline and color first then a much different fill color. The outline color will be visible in the final result, but the fill color (mostly) will not.
Save as Picture
Now save the Shape as a Picture. Make the shape large (larger than you’ll need in the final masked image), right-click and choose Save as Picture.

That will save the shape as an image on your computer. Larger dimensions for the image give you more resizing options later without losing quality.
Non-transparent picture format
It’s VITAL to select an image format that does NOT support transparency. Select JPG or BMP not the default PNG.

Why? The surround of a shape is transparent. It looks white because the doc/slide background is usually white. We need a truly white color around the shape. Do that is saving to a non-transparent format. That converts the transparent surround of the shape into plain white color.
Make Shape picture Transparent
Insert the picture you just made, back into the document or slide.
The reason for converting to a picture is to get Office’s ‘Set Transparent Color’ option, which is only available for images, not shapes. ‘Set Transparent Color’ changes a selected color in the image into a transparent area.
Go to Picture Format | Adjust | Color | Set Transparent Color. (don’t choose the nearby ‘Transparency’ option, which applies to the entire image).

Use the Eyedropper pointer to select the shape fill color and make it transparent.
Transparency Color problem and fix for Microsoft Office
In front of text
Next, change the picture layout to ‘In front of text’.

As you can see, even with no shape outline, some of the fill color remains around the edges. That’s why we recommended a fill color similar to the colors in the picture you’ll be masking.
Position over picture and tweak to suit
Now drag the shape/picture over the image you want to mask. This is where all the preparation pays off.
There’s full control over the positioning and size of both the underlying picture and shape. The kind of control not available with ‘Crop to Shape’ or Shape Fill with Picture’ options.
The Shape (now image) can be resized and moved to show exactly what you want.
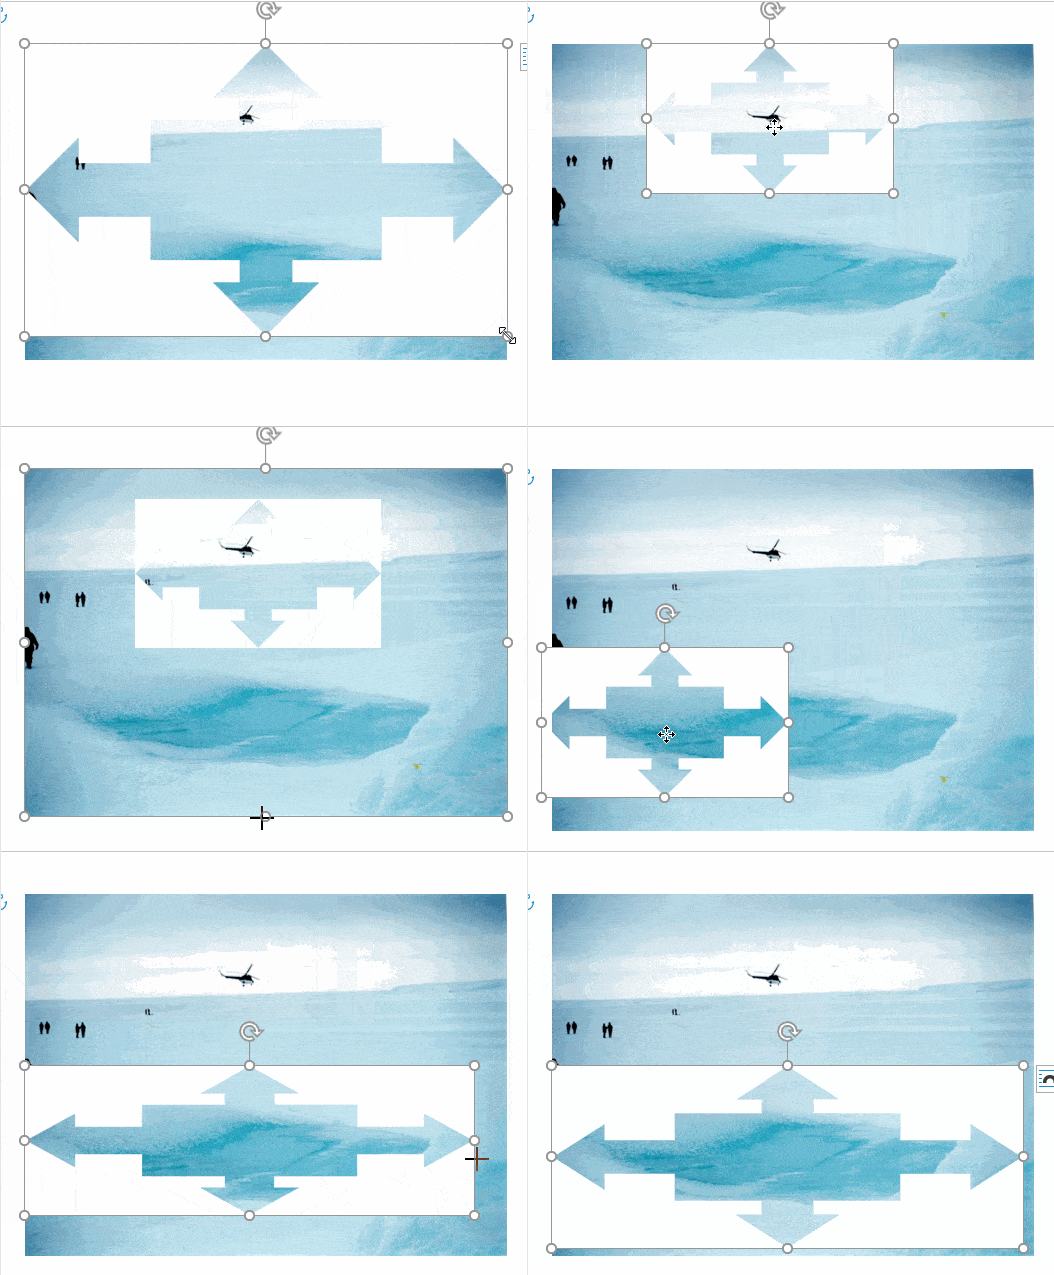
If necessary, click on the picture and resize as necessary. Here we’ve sized and moved both pictures around, so the people and helicopter are in view.

Here’s an animation that shows a little of what’s possible by moving or resizing both the shape and underlying image.

One final tip ….
It might be tempting to make your shape with image fill and leave it at that.
Don’t do it! You’ve done a lot of work to make that custom picture with mask, don’t throw it away.
Instead make a fixed image of your masked image. Use that image in your document, sheet or slide.
Why? Here’s a few reasons:
- A fixed image is less likely to be accidentally changed or moved. That’s an extra worry for collaborated documents. The fixed image is also smaller, if that’s a concern.
- The fixed image can be resized etc without affecting the source image & mask combo.
- The image & mask pair can be revisited to make changes. You won’t have to go though the whole ‘Save as Picture…’ process again; just pick up where you left off.
Make a fixed image by taking a screen shot.
Use Insert | Illustrations | Screen Shot or whatever screen capture system you prefer. Windows 10/11 has Win + Shift + S, Mac has Command + Shift + 4.
Taking screenshots, your guide for Windows, Mac, iPhone, iPad and more
Keep the original picture with transparent image overlay separate. Either a separate document or a hidden slide.
Three ways to crop a picture with an Office shape
Set your own Shape default settings in Office