Layers in Microsoft Word aren’t obvious, but they’re essential for controlling how text, images, shapes, and other objects overlap. Understanding how Word handles layers helps you avoid layout chaos, fix formatting issues, and design documents that look professional every time.
In Microsoft Word, text, images, and shapes can sit on different layers that determine how they overlap each other. In its simplest form, layers in Word look like this:
- Page layer the background of the document where margins, page color, and watermarks live. At the very bottom of the layers.
- Text layer the main body where you type and format words, paragraphs, and tables. It’s usually just above the Page layer, but not always.
- Images also live in this layer with the ‘In line with text’ wrapping option.
- Objects (images etc) can be below the text layer (i.e. between the Page and Text layers)
- Object layers where floating items like pictures, shapes, charts, or text boxes are placed “above” or “behind” the text layer or other object layers.

Layers are a common feature in image editors. Even modern Windows 11 Paint has layers. If you’ve used layers in other software, then the Word version of layers will be easy to understand.
Word layers are quite simple and limited compared to most layer features.
Front or Back
Right-click on any Word object (image, chart, text box etc.) there are two options to change the layer:

Bring to Front
- Bring to Front – very top layer
- Bring Forward – move up one layer
- Bring in Front of Text
Send to Back
- Send to Back – bottom-most or lowest layer (just above the fixed page layer)
- Send backward – move down one layer
- Send behind text
Behind text
Behind text puts the image underneath other objects including text. Handy for overlaying text like this.

In front of text
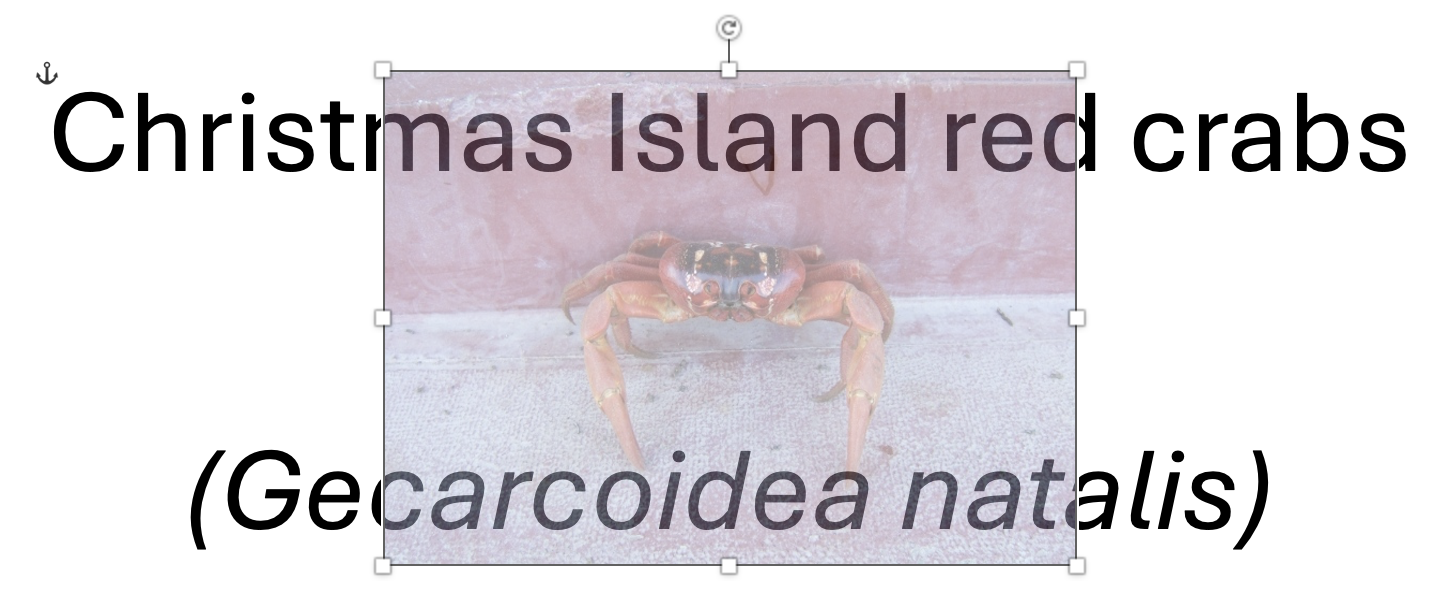
If the image is over the text, that can hide the text entirely which can confuse. In front of text has it’s uses, for example with semi-transparent images like this.
Layers hiding an image or object
Keep layers in mind if you’re trying to find a missing or hidden image or object. It might be in a lower layer, ‘underneath’ another image or object.
In this example there are two images on the page (see Selection Pane at right) but ‘Crab on a rock’ is in a lower layer hidden beneath the other crab image.

Use the Selection Pane to reveal all the objects (images, charts etc.) on a page, visible or not.