3D models have a secret. They let you choose the exact look you want, turn it into a 2D ‘normal’ image that you can do a lot more with.
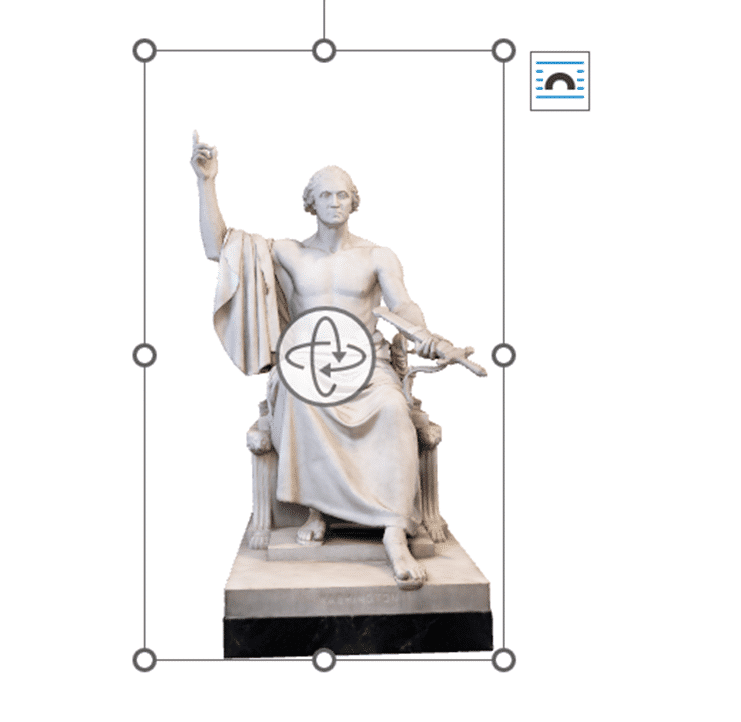
Here’s a 3D model from the Smithsonian collection, a full length but frankly plain view of a famous statue.
With a little Microsoft Office trickery, you can change the view of the 3D object, as if you were taking your own photos of the real thing. Even better, edit those images to suit your need. Here’s just four possibilities we’ll explain in this article.

Or here’s two different views of the world, taken from a 3D model of the Earth. Rotate and zoom to show any place on the planet from exactly the perspective you want.

Why replace a 3D model with a picture?
3D models have a place but there are downsides which make a plain 2D image more practical.
- The 2D image works on the printed page or PDF.
- There’s no risk that the view of the 3D model will be accidently changed.
- The Office file is usually much smaller without the 3D model.
AND, as we’ll see, there’s a lot more possible in Office with a picture.
Add a 3D Model
If you want to turn a 3D model into a 2D picture in Word or Office, take a screenshot of the model and then save it as an image. Here’s how.
Firstly, insert the 3D model into the document, either a stock model provided by Microsoft or some other source.

Choose a view
Use the viewpoint tools to adjust the model to the look you want. There are rotate/skew options from the center icon but don’t forget the Pan & Zoom option on the 3D Model tab.

Above are extreme examples of what’s possible with a 3D model. Sometimes all you need is a little adjustment from the standard view, a nudge or three to get a different view of a familiar object.
Take a screenshot
Next take a screenshot of the 3D model view you like. Use whatever screen-shot tool you like including Insert | Screenshot in Office). Tips:
- Get a large size image to work with. Use Zoom (bottom right of status bar) to enlarge the on-screen picture before taking the screenshot.
- Keep a copy of the original 3D model and the screenshot image so you can easily ‘go back’ and get a fresh version to work from. I keep these ‘past versions’ at the bottom of the document or an extra sheet/slide)
Remove Background
Most 3D Models have a single-color background which makes it easy to convert into a transparent background.
Microsoft Office has a Background Removal tool which lets you select the object only, leaving the rest as a transparent background.
Select the image then Picture Format | Adjust | Remove Background. Usually, the tool doesn’t select all of the object (like the hand and head) use ‘Mark Areas to Keep’ to select more. Check carefully for small parts either not selected (like the sword handle) or background that is selected.

With a transparent background, the object can be dropped ‘on top’ of another image like this.

Picture Effects
With or without the background, any image can be ‘treated’ with the Picture Format tools in Microsoft Office. Add a frame or artistic effects, change colors, contrast, brightness and more.

Starting out with 3D models in Microsoft Office
Use the Smithsonian for great photos and 3D models in PowerPoint and Word
SketchUp 3D graphics in Office 365
Background Removal Tool for pictures in Office
Easily apply the same picture format to many images in Word or PowerPoint
Clever picture borders in Excel and PowerPoint