Word’s standard Highlight Color button on the Home tab does the job for quick work, but it caps you at a mere 15 colors. The Draw tab’s Highlighter pen is a far more powerful tool hiding in plain sight. Turn on one setting you get the clean word alignment and find capability just like the Home tab version, plus access to over 16 million colors including full support for hex color codes. Whether you review documents regularly, color code sections by topic, or need to match exact brand colors, this is the Word highlight upgrade most users never knew existed.
The Highlight Color button on the Home tab is fine for quick work, but it gives you only 15 colors and no control over the pen tip size. The Draw tab’s Highlighter pen seems like a different tool entirely but once you choose the right setting, it works like the standard Home tab Highlight but with a LOT more color choices
If you annotate documents regularly, review drafts, or want to color code sections using your organization’s exact brand colors, the Draw tab Highlighter gives you real control. Turn on Snap to Text and you also get the clean word alignment of the Home tab button, without giving up any of the flexibility.
This feature is only in modern Word for Windows. Alas Word for Mac misses out for no good reason.
Forget 15 colors, try 16 million instead
The 15 color limit on the standard Highlight tool is a genuine constraint that annoys users, especially those who’d like to have more light or pastel choices.
Using the Draw tab’s Highlighter with ‘Snap to Text’ to choose from any of Word’s 16,777,216 million colors.
What the Draw Tab Highlighter Actually Is
The Draw tab normally treats highlighting as a digital pen stroke rather than a text format. That distinction matters because it means you get the full color picker, adjustable tip thickness, and pressure sensitivity if you are using a stylus.
To find it, click Draw in the ribbon. In the Drawing Tools group look for the Highlighter digital pen with a chisel-tip marker icon.
If the Highlighter isn’t there, add it from the drop-down menu.
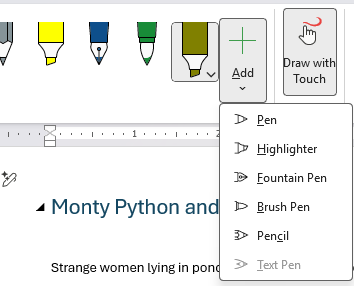
As you can see above, you can add more than one ‘pen’ of the same type but different settings. That lets you switch easily.
Snap to Text: The Feature That Fixes Wobbly Highlighting
The trick is to turn on Snap to Text for the digital highlight pen. That converts the ‘drawing’ into normal Word highlighting with the useful extras, especially Finding any highlighted text.
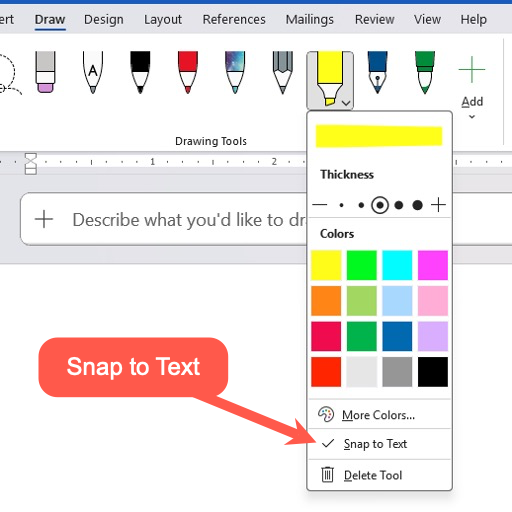
When Snap to Text is turned on, Word automatically adjusts your freehand stroke so the highlight aligns cleanly to whole words or lines, even if your mouse drag was not perfectly accurate. Think of it as autocorrect for your highlighting aim.
To turn it on, click the dropdown arrow on the Highlighter pen and look for Snap to Text in the options panel. Click it to toggle it on. A checkmark or highlight on the option confirms it is active.
With Snap to Text on, your highlight behaves much more like the Home tab version in terms of clean word boundaries, but you still keep all the color and thickness advantages of the Draw tool. For most users doing document review or annotation with a mouse, leaving Snap to Text on is the right default. Turn it off only if you deliberately want a freehand stroke, for example when annotating a diagram or marking a partial word in a legal or editorial context.
Setting Any Color You Want
This is the key feature the Home tab version cannot match.
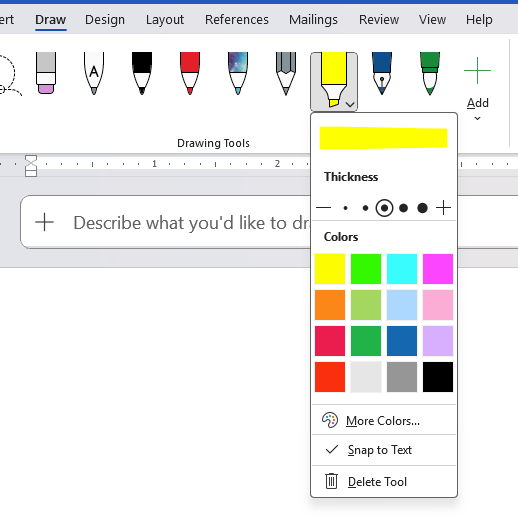
Click the dropdown arrow on the Highlighter pen icon itself (not the main pen button, but the small arrow beneath or beside it). A panel opens with two sections:
- A color grid showing standard colors
- A More Colors option at the bottom

Click More Colors and Word opens the full color picker including Hex color codes. This gives you access to over 16 million colors, not 15.
Adjusting the Pen Thickness
The same dropdown panel shows a thickness slider or size options. A thicker tip is better for highlighting whole lines. A thinner setting works for annotating narrow columns or small text. The Home tab highlighter has no equivalent control.
How to Use the Highlighter Pen
Once your color and thickness are set, click and drag across text with your mouse to highlight it, just like dragging a real highlighter. On a touch screen or with a stylus, drag your finger or pen across the text.
To stop highlighting, press Escape or click another tool.
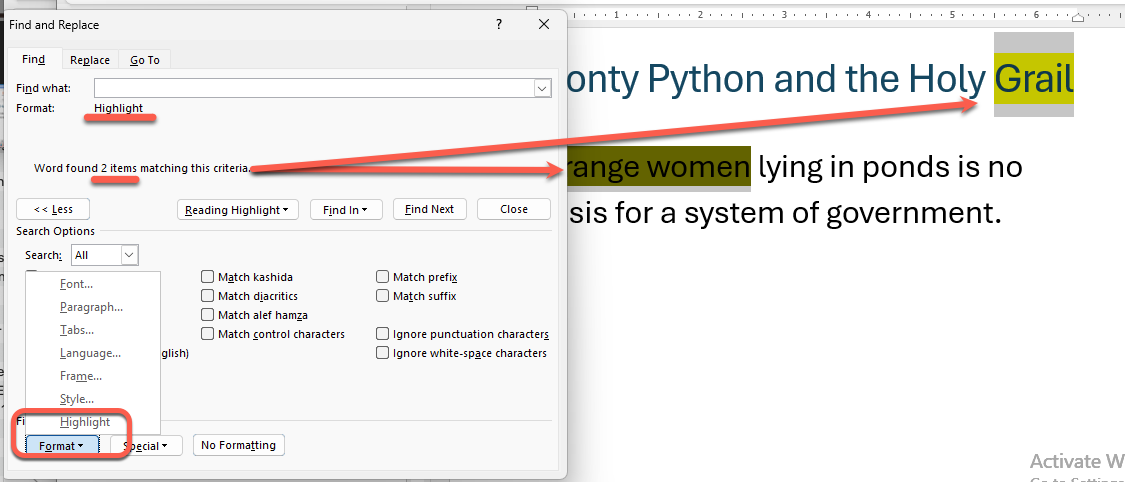
Searching drawn Highlights
It’s possible to find drawn highlighted text (using Snap to Text) just the same as Find for standard Highlighting.
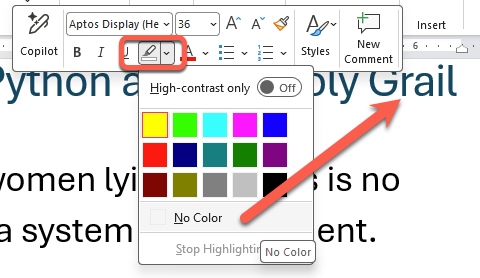
Erasing Draw Tab Highlighted text
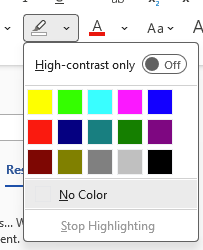
Normal Drawings are deleted using the Eraser pen. Highlights add with Snap to Text are removed using the ‘No Color’ option on the standard Highlighting tool.
The “Draw” vs “Snap to Text” Difference
Highlights applied from the Home tab are text formatting, stored as a character property. Highlights done with ‘Snap to Text’ appear to behave the same way, including Find and Erase.
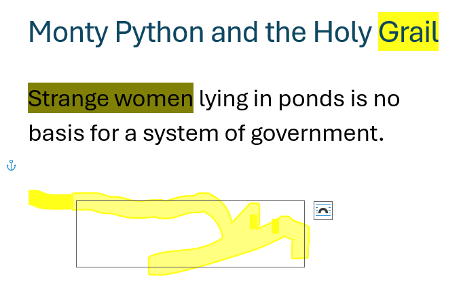
Highlights without Snap to Text applied from the Draw tab are ink objects, floating on top of the text layer.
Compare the text highlighted with ‘Snap to Text’ (above) with the highlighted scribble below. We’ve selected the scribble to reveal the Shape box.
Highlight tricks for Word, PowerPoint, Excel and Outlook
Fast highlighting using two keyboard shortcuts in Word
Word: Finding and Fix Highlighted text
Combined Drawing Tools in Word 365 and other Office programs
Drawing in all sorts of places in Microsoft Office apps
Hex Color Codes in Microsoft Office: How to Use Exact Colors Every Time
Get started with Word’s Draw features watching this video
Add the missing Draw with Touch option to Office
Highlight or Delete by drawing
Color Picker for Windows 10/11: Find the Perfect Color Match